Easy DIY Wedding Crafts: 12 Projects You Can Finish in an Evening
Twelve small handmade wedding projects in ribbon, paper, fabric and twine, each with what it needs, roughly how long it takes and a short how-to or a link to the full tutorial.
Not every handmade detail has to eat a weekend. The easy DIY wedding crafts below are small, repeatable projects built from a cut, a fold or a knot, and each can be finished, or at least batched, in a single evening.
There are twelve ideas, grouped by material. Each one lists what it needs and roughly how long it takes. Four have full tutorials elsewhere on the site; the rest get a compact how-to right here.
What makes a project evening-sized
A project fits into one evening when it uses few materials, repeats one simple step and has no long drying time. All twelve below pass that test. Times are rough guides for a first attempt.
Ribbon projects
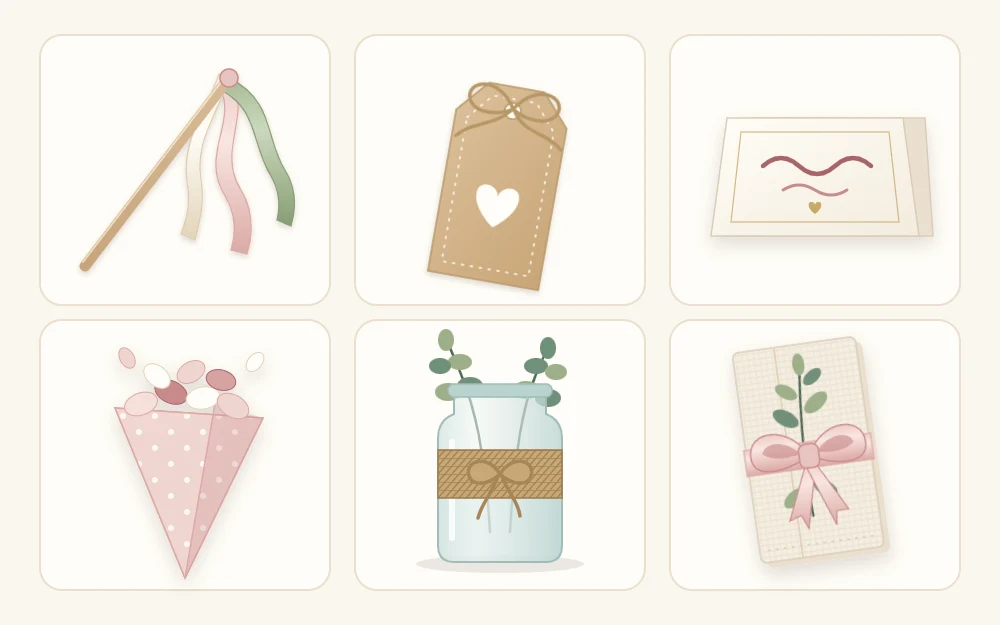
1. Ribbon wands
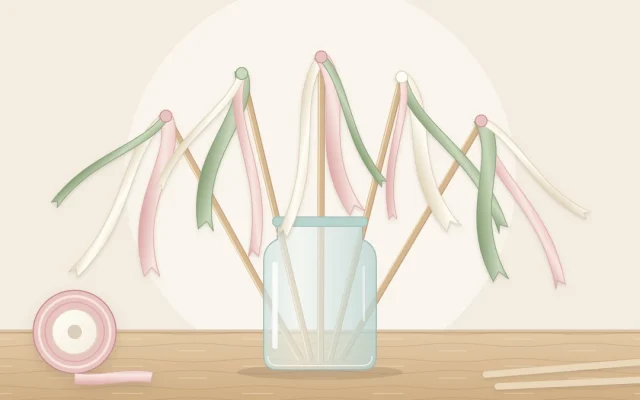
A short wooden dowel with a cluster of ribbons knotted at the tip, for guests to wave at the send-off. Needs: dowels, three ribbons per wand, small screw eyes. Time: about 10 minutes per wand. Sizes and a batch method are in the tutorial on how to make ribbon wands.
2. Ribbon chair ties
Needs: three ribbons of different widths per chair, each about 1 yd (90 cm). Time: about 5 minutes per chair. Hold the three ribbons together, fold them in half and loop them around the top corner of the chair back with a lark’s head knot: pass the folded loop behind the rail and pull the tails through it. Trim the tails at an angle. Use only the ribbon itself to attach it, never tape or staples.
3. Ribbon-wrapped utensil bundles
Needs: one napkin and about 20 in (50 cm) of narrow ribbon per place. Time: about 2 minutes each. Lay the utensils on the napkin, roll the napkin around them and tie the ribbon around the middle of the roll with a double knot. Keep the ribbon on the cloth, not on the eating ends of the utensils.
Paper projects
4. Favor tags
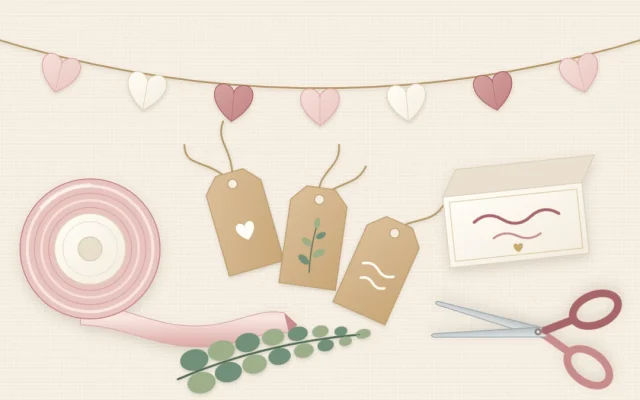
Small cardstock tags with a punched hole and a twine loop. Needs: cardstock, hole punch, twine. Time: about an hour for 50 blank tags. Shapes, sizes and tying methods are covered in the guide to handmade favor tags.
5. Tent place cards
A folded card with a guest’s name that stands at each seat. Needs: heavy cardstock, a scoring tool, a pen. Time: about an hour to cut and fold 50, plus writing time. See the tutorial on place cards in three styles for the cutting plan.
6. Simple table number cards
Needs: one letter-size sheet of heavy cardstock per table, a pencil and a paint pen. Time: about 10 minutes per card. Cut a piece 7 x 10 in (18 x 25 cm), score across the middle at 5 in (12.5 cm) and fold it into a tent with a face 7 in wide and 5 in tall. Draw the number large in pencil first, then go over it with the pen. Number both faces so the card reads from either side of the room.
7. Paper confetti cones
Needs: 6 in (15 cm) squares of text-weight paper, double-sided tape, dried petals. Time: about 2 minutes per cone. Roll the square from one corner so the opposite corner becomes the tall point at the back, overlap the sides and fix them with a strip of tape. Fill each cone with a small handful of petals on the day or the day before. Ask the venue first what guests may throw, and where.
8. Paper heart garland
Needs: light cardstock, a hole punch, twine. Time: about an hour for a 6 ft (1.8 m) garland. Fold a 3 in (7.5 cm) square of cardstock in half, cut half a heart against the fold and open it out. Use that heart as your guide to draw and cut 17 more. Punch two holes near the top of each heart and thread them onto the twine, spacing them about 1 in (2.5 cm) apart. Eighteen hearts fill 6 ft.
Fabric, twine and greenery projects
9. Fabric strip garland
Strips of cotton, lace and ribbon knotted onto twine until the cord disappears. Needs: fabric, trims, twine, scissors. Time: about 2 hours for 6 ft. There is no sewing and uneven strips look better, which makes it a kind first project. Quantities are worked out in the fabric and ribbon strip garland tutorial.
10. Twine-wrapped jars
Needs: clean glass jars, twine, tacky glue. Time: about 15 minutes per jar, plus drying. Put a few small dots of glue around the jar near the base and press the end of the twine into the first dot. Wind the twine upward in tight rows until the lower third is covered, adding a dot of glue every few rows. Glue down the end at the back and let the jar dry for about an hour before handling it.
11. Napkin ties with greenery
Needs: about 18 in (46 cm) of twine or narrow ribbon and one small sprig per napkin. Time: about 2 minutes each. Fold or roll the napkin, wrap the tie around it twice and finish with a knot or a small bow. Slide a sprig of rosemary or a faux leaf stem under the tie. Cut the ties weeks ahead; add fresh sprigs on the day.
12. Small floral hoop
Needs: a wooden or metal hoop about 6 in across, three or four faux sprigs, floral wire, ribbon. Time: about 20 minutes. Lay the sprigs along the bottom third of the hoop, all pointing the same way and overlapping so each one hides the stem before it. Bind each stem to the hoop with two or three tight turns of wire. Tie a ribbon at the top as a hanging loop.
How to set up a one-evening session
Work like a small assembly line. It is faster and the pieces come out more alike.
- Make one complete sample first and keep it in view.
- Do each step for the whole batch before moving on: cut everything, then fold or punch everything, then tie everything.
- Count as you go, in piles of ten.
Which ones to make first
Pieces made only of paper, ribbon, fabric or twine can be finished weeks or months ahead, as long as they are stored flat, dry and out of sunlight. That covers the wands, tags, cards, cones, both garlands, the jars and the chair ties.
Anything fresh waits until the end. Fill cones, tuck in herb sprigs and roll utensil bundles in the last day or two.
Frequently asked questions
Which of these crafts is the fastest to make?
Napkin ties and utensil bundles are the quickest, at roughly two minutes each once the ribbon or twine is cut to length. Paper confetti cones are about as fast. Cutting all the lengths or squares first, before you assemble anything, is what keeps the pace up.
Can I make these crafts without any special tools?
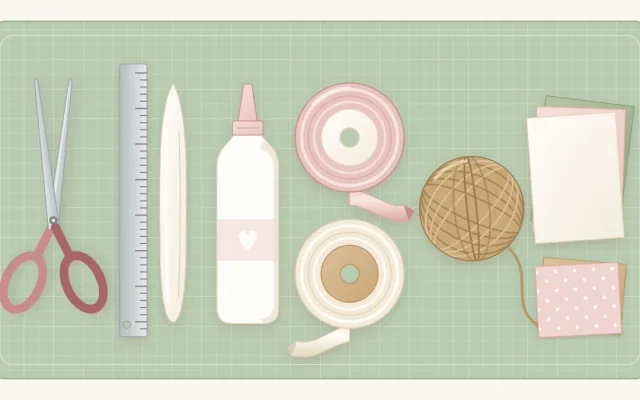
Yes. Sharp scissors, a ruler, a pencil, a hole punch and some glue or double-sided tape cover all twelve projects. A paper trimmer speeds up the card and tag projects, and wire cutters are useful for the floral hoop, but neither is essential for a small batch.
How many projects can I realistically finish in one evening?
Plan on one project per evening when you are making it in quantity, such as a full set of tags or place cards. One-off pieces are different: a paper heart garland and a small floral hoop can comfortably share the same evening, with time left to tidy up.