DIY Wedding Favor Tags: Shapes, Punching and Tying
Four hand-cut favor tag shapes with exact sizes, a batch method that keeps dozens of tags identical, and three simple ways to tie them on.
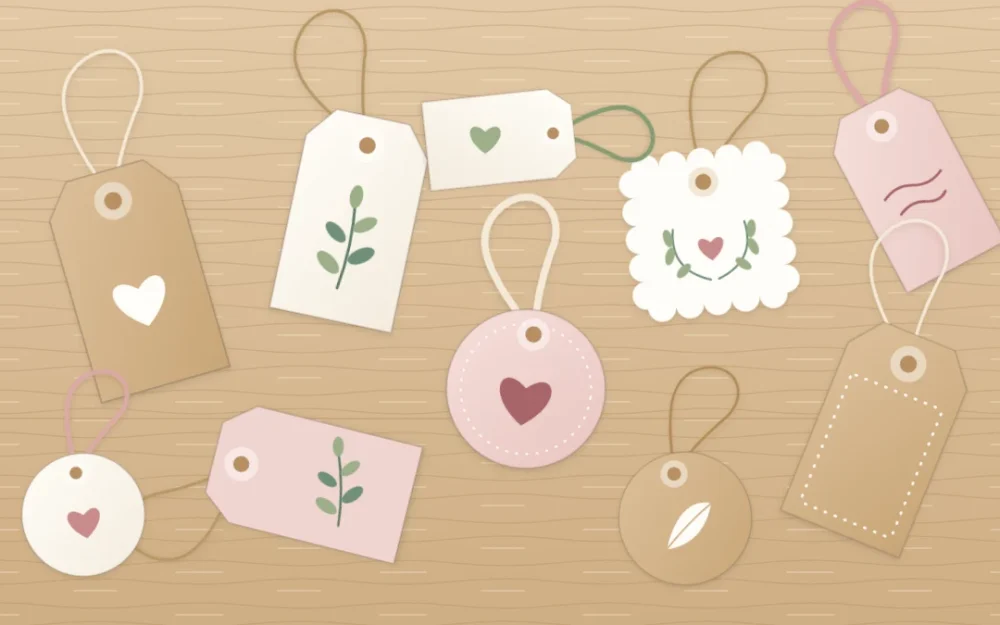
Project at a glance
Materials
- Light or heavy cardstock (65 to 80 lb)
- Paper trimmer or sharp scissors
- Ruler and pencil
- Standard hole punch
- Twine, narrow ribbon or striped string
- Fine-tip pen
- Glue stick
A favor looks finished the moment a small tag hangs from it. The catch is quantity: one tag is a two-minute job, but a hundred of them need a method, or the last thirty come out a different size from the first.
These diy wedding favor tags are all measured and cut by hand from cardstock, with no special equipment beyond a hole punch. Pick one of the four shapes below, make a single test tag, then work in batches so every tag matches.
What You Need
- Cardstock, light (about 65 lb) or heavy (about 80 lb), in one or two colors
- Paper trimmer or sharp scissors, a ruler and a pencil
- A standard hole punch
- Twine, narrow ribbon or striped string
- A fine-tip pen and a glue stick
Light cardstock is easier to punch and stiff enough for a tag this small. Heavy cardstock feels more substantial but needs a firmer squeeze on the punch. If your cuts tend to wander, the guide to cutting and scoring cardstock cleanly explains how to measure from one true edge.
Four Tag Shapes and Their Sizes
| Shape | Cut size | Tags per letter-size sheet |
|---|---|---|
| Luggage tag with clipped corners | 2 x 3 1/2 in (5 x 9 cm) | 12 |
| Round tag | 2 in (5 cm) circle | 20 |
| Scalloped square | 2 1/2 in (6.5 cm) square | 12 |
| Folded tag | 2 x 4 in (5 x 10 cm), folded to 2 x 2 in | 8 |
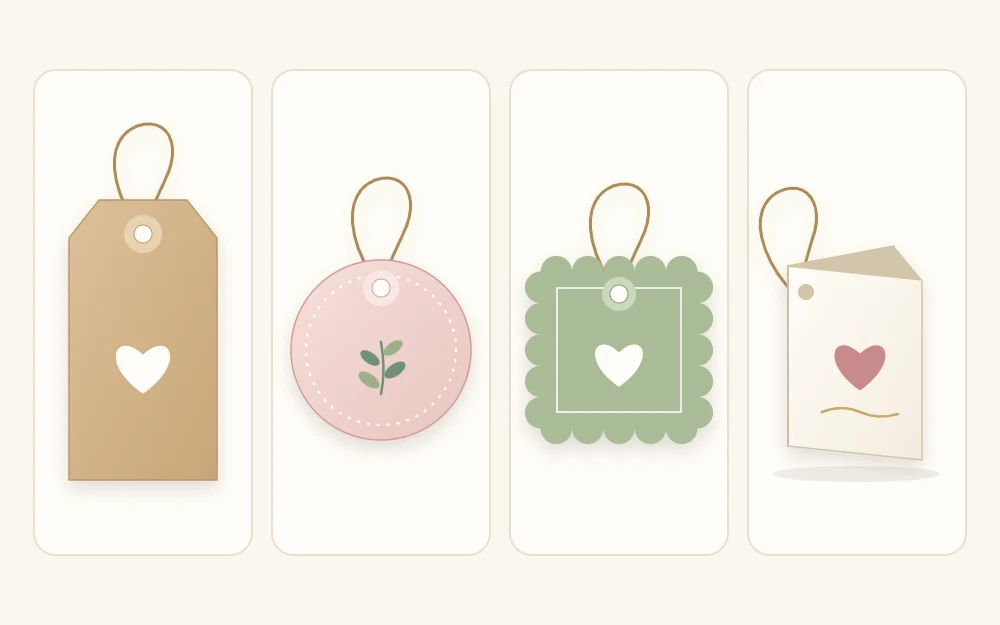
Luggage tag
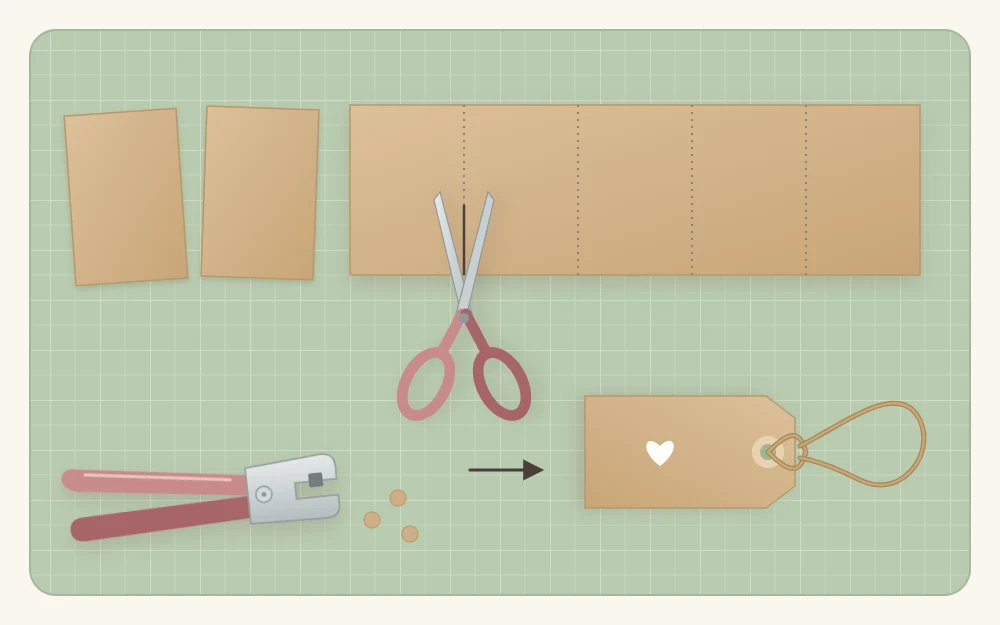
Cut the sheet into three strips 3 1/2 in wide, then cross-cut each strip every 2 in for four tags per strip. On the first tag, mark 1/2 in (13 mm) from two neighboring corners along both edges and snip off the two small triangles. That tag is now your guide: lay it on each of the others and cut along its clipped corners, with no more measuring.
Round tag
Find a small lid about 2 in across, such as one from a spice jar. Draw around it in rows that just touch, then cut with scissors, turning the paper rather than the scissors so the curve stays smooth.
Scalloped square
Cut 2 1/2 in squares. A small button or coin about 5/8 in (16 mm) across fits four times along each side: draw four half circles against it on every edge, then cut along the bumps with small scissors.
Folded tag
Cut a 2 x 4 in rectangle, score across the middle at 2 in and fold. The front carries a small motif, and the inside has room for a longer message or the guest’s name.
Punching and Reinforcing the Hole
Place the hole in the middle of the top edge, with about 1/4 in (6 mm) of cardstock between the hole and the edge. Any closer and the tag tears when the twine is pulled. On a folded tag, punch through both layers near the fold after folding, so the holes line up.
Punch your guide tag first. For every tag after it, lay the guide on top and punch through its hole. Most punches manage two or three light tags at once, which cuts the work considerably.
To reinforce a tag that will be handled a lot, glue a small circle or square of scrap cardstock behind the hole area with a glue stick and punch again through both layers. In a contrasting color on the front, the same patch becomes a decorative ring.
Adding Your Own Wording and Decoration
Keep the wording to what fits comfortably: two or three words, a date, or two initials. Draw a light pencil baseline, write in pen, and erase the line once the ink is fully dry. Test the pen on a scrap of the same cardstock first, because some inks feather on kraft paper.
A small set of rubber alphabet stamps and an ink pad gives a neat, even result if you would rather not hand letter. Let stamped tags dry in a single layer before stacking them.
For decoration, one small hand-drawn motif is enough. A leaf sprig is a curved stem with five or six teardrop shapes along it; a heart is two short strokes. They will not be identical from tag to tag, and that slight variation is exactly what makes them look handmade.
Tip
Write and decorate before you tie. A flat tag is far easier to letter than one with a knot of twine under your hand.
Three Ways to Tie a Tag
- Twine with a lark’s head knot. Cut 8 in (20 cm) of twine and fold it in half. Push the loop through the hole from the front, pass both tails through the loop and pull snug. The two tails then tie around a box, a jar neck or the gathered top of a bag.
- Narrow ribbon. Thread a ribbon 1/8 to 1/4 in wide through the hole and tie it in a knot or a small bow. Cut the ends at an angle so they fray less.
- Striped string. Use it doubled so the color shows, knotted once close to the hole.
A tag on twine is the simplest closure for a pillow box or small cube; the tutorial on making favor boxes from cardstock has both. If you have not settled what the tags will hang from, browse these small favors you can make by hand.
How Many Sheets and How Much Twine
Count your favors, add roughly 10 percent for spares and smudged lettering, then divide by the number of tags per sheet and round up. For 100 favors that is 110 tags. At 12 luggage tags per sheet, 10 sheets give 120.
Twine works the same way. At 8 in per tag, 110 tags need 880 in, so get roughly 25 yd (23 m). If the tails must wrap around a larger box, measure one finished favor and adjust the length before cutting the whole batch.
Keeping Tags Flat Until Needed
Cardstock tags can be made weeks or even months ahead. Stack them in tens, slip a paper band around each stack so counting is easy, and lay the stacks in a shallow box with the twine tails tucked to one side. Store the box flat, dry and out of sunlight, which fades kraft and colored cardstock unevenly.
Attach the tags in the last few days, once the favors themselves are packed.
Frequently asked questions
What size should a wedding favor tag be?
A rectangle of about 2 x 3 1/2 inches suits most small boxes, jars and bags, and a 2 inch circle or square works for very small favors. Cut one test tag and hold it against a packed favor before cutting the batch; the tag should be clearly smaller than the favor's front face.
What paper is best for favor tags?
Cardstock of about 65 to 80 lb is the usual choice. It is stiff enough to hang straight, takes pen and stamp ink well, and still passes through an ordinary hole punch. Text-weight paper curls and tears at the hole, so use it only as a decorative layer glued onto cardstock.
How do I stop the hole in a tag from tearing?
Leave about a quarter inch of cardstock between the hole and the edge, and pull the twine snug rather than tight. For tags that will be handled often, glue a small patch of scrap cardstock behind the hole and punch through both layers so the tie pulls against a double thickness.