DIY Wedding Garland: A Fabric and Ribbon Strip Garland
Knot strips of cotton, lace, tulle and ribbon onto twine for a soft, full garland with no sewing. Includes strip sizes, the knot, a repeating order and how to work out fabric for any length.
Project at a glance
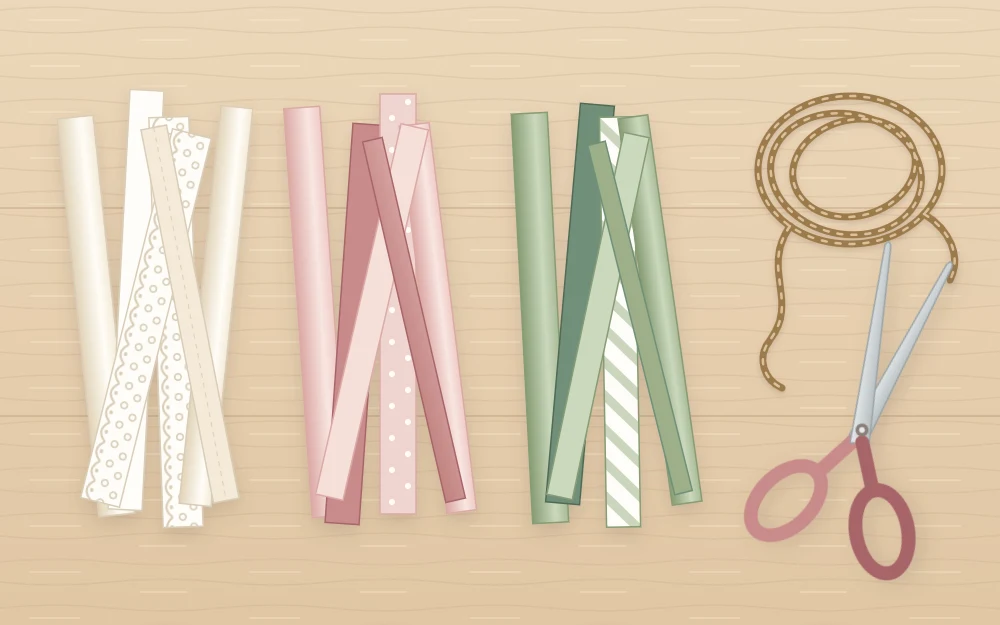
Materials
- 8 ft (2.4 m) of twine or cotton cord
- 1/2 yd of cotton fabric in each of three colors
- 12 yd of lace trim
- 12 yd of tulle on a roll
- 12 yd of ribbon, 1 to 1 1/2 in wide
- Fabric scissors and a tape measure
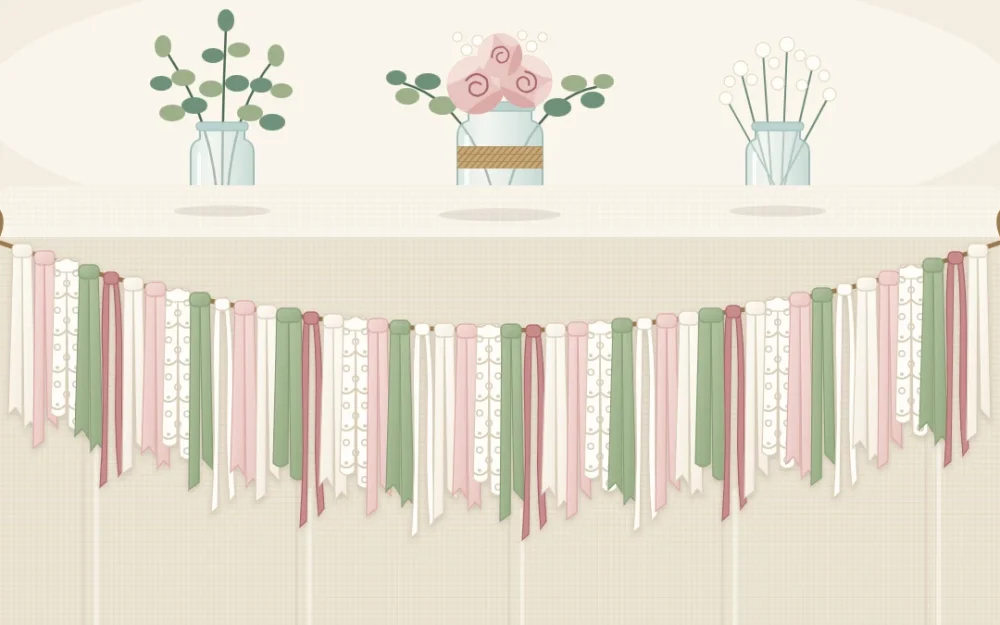
Few decorations give as much softness for as little skill as a strip garland. This DIY wedding garland is made by knotting strips of fabric, lace, tulle and ribbon onto a length of twine until the cord disappears under them. There is no sewing, and no two strips need to match.
The instructions make one garland 6 ft (1.8 m) long, enough for the front of a small table or the top of a doorway. Further down you will find the sums for making it longer and two quick variations.
What you need
- Twine or cotton cord, 8 ft (2.4 m): 6 ft for the garland plus 12 in (30 cm) at each end for tying
- Cotton fabric in three colors, 1/2 yd (46 cm) of each
- Lace trim, 12 yd (11 m)
- Tulle on a roll, about 6 in (15 cm) wide, 12 yd
- Ribbon, 1 to 1 1/2 in (2.5 to 4 cm) wide, 12 yd
- Sharp fabric scissors and a tape measure
Those amounts give about 150 strips, 25 of each of six kinds. Plain woven cotton, such as quilting cotton or muslin, tears cleanly. Knits and thick fabrics do not, and are better left out.
Cut and tear the strips
Every strip is about 16 in (40 cm) long, which gives two tails of roughly 7 in (18 cm) once it is knotted on.
- Tear the cotton. Along one cut edge of the fabric, make a snip about 1 in deep every 1 1/2 in (4 cm). Hold the fabric on both sides of a snip and tear firmly to the other edge. A half-yard piece of fabric about 44 in (112 cm) wide gives around 29 strips, each 18 in long. Leave them at that length or trim them to 16 in.
- Pull off the loose threads. Torn edges fray into a soft fringe. Remove the long stray threads and leave the rest.
- Cut the lace, tulle and ribbon. Cut 25 pieces of each, 16 in long. Tulle is used at its full width; it gathers into a puff when knotted.
- Sort by kind. Lay the six kinds in separate piles in the order you plan to use them.
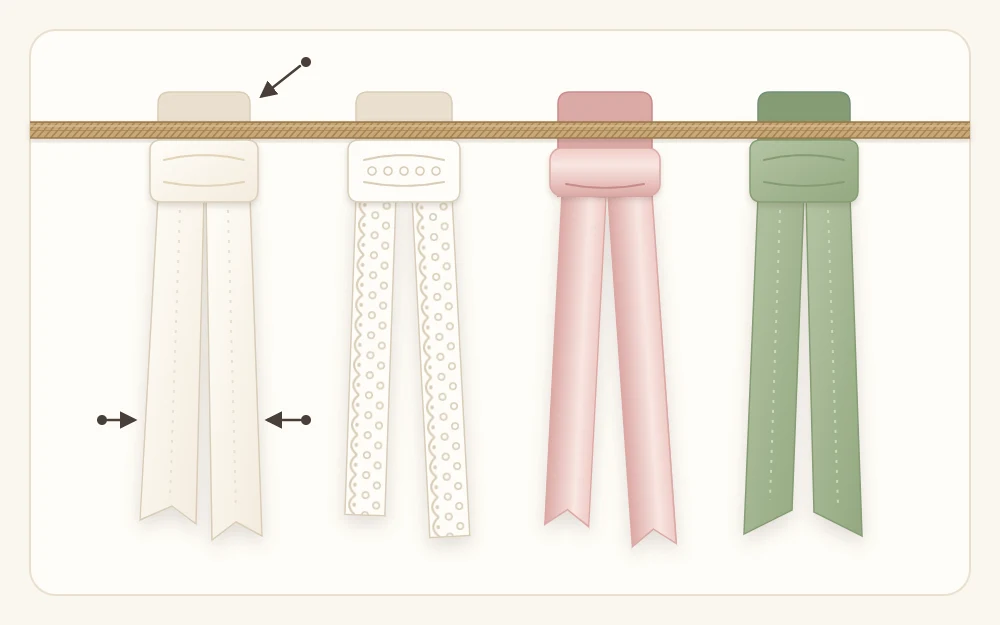
Tie the strips on with a lark’s head knot
Stretch the twine between two chair backs or tape it across a table edge so both hands are free. Mark the 12 in tying allowance at each end with a loose knot, and work between the two marks.
- Fold a strip in half to make a loop at the middle.
- Pass the loop behind the cord, from above, so the loop hangs below the cord and the tails stay on top.
- Bring both tails down over the front of the cord and through the loop.
- Pull the tails to tighten the knot against the cord, and smooth them so they hang side by side.
Keep a repeating order
A fixed sequence is what makes a mix of scraps look deliberate. Decide on an order and repeat it from one end to the other. For example:
- Ivory cotton
- Lace
- Blush cotton
- Tulle
- Sage cotton
- Ribbon
After every few repeats, push the knots together along the cord. The garland should look crowded: fullness comes from the knots sitting shoulder to shoulder, not from wide strips.
When you reach the second mark, hold the garland up and look for thin spots. Slide the knots apart there and tie in an extra strip or two.
How many strips, and how much fabric
The number of strips per foot depends on how wide they are. Strips of about 1 in need roughly 30 per foot (30 cm) of cord, strips of 1 1/2 in about 25, and strips of 2 in (5 cm) about 20.
To plan your own length:
- Count the strips. Multiply the length in feet by the strips per foot. For 6 ft at 25 per foot, that is 150 strips.
- Divide by the number of kinds. With six kinds in the sequence, 150 strips is 25 of each.
- Work out the cotton. Each half yard of 44 in fabric tears into about 29 strips, so one half yard per color covers 25 with a few spares.
- Work out the trims. Multiply the number of strips by 16 in. Twenty-five strips need 400 in, a little over 11 yd, so buy 12 yd of each trim.
Tie one foot first as a sample and count the strips; your fabric may sit tighter or looser than these figures.
Two quick variations
Paper heart garland
Cut hearts about 3 in (7.5 cm) wide from light cardstock. Glue them in pairs, back to back, with the twine sandwiched between them near the top, or run a line of machine stitching down through a column of hearts for a vertical strand. Leave about 1 in between hearts.
Greenery-style garland
Use faux leaf stems in place of fabric. Lay the first stem along the cord and bind it on with floral wire. Place the next stem so its leaves cover the wire, and continue in the same direction to the end.
Where to hang it
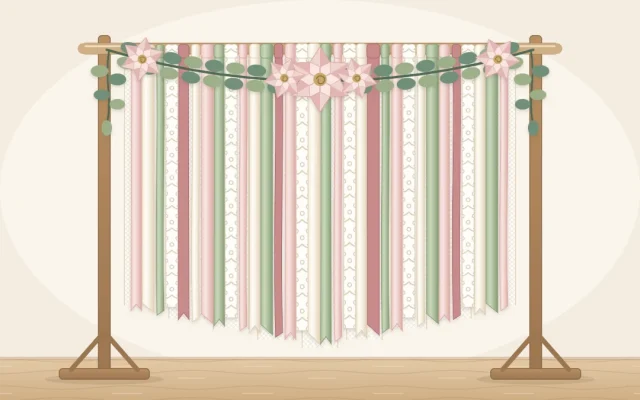
A 6 ft garland suits a table front, a mantel, a doorway or the top of a sign. Let it dip a little in the middle instead of pulling it straight. The same knot on a larger scale is the basis of a ribbon and fabric curtain backdrop.
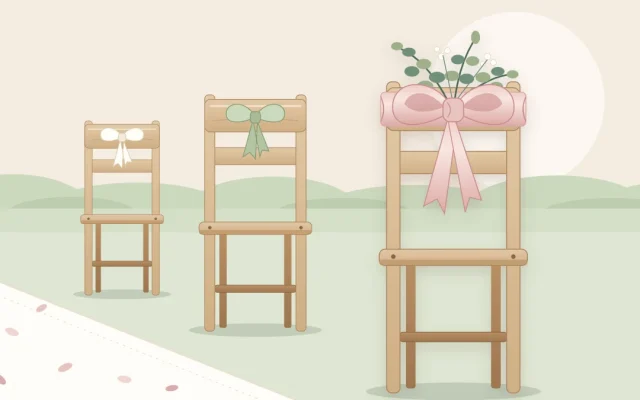
Finish each end with a ribbon bow to hide the hook or the knot. If yours tend to tilt, see how to tie a bow that sits straight. A handful of leftover strips tied together makes a tassel for the aisle, as shown in the guide to handmade chair decorations.
Safety note
Fabric, tulle and ribbon burn easily, so keep the garland well away from any open flame or hot lamp. Hang it only from removable hooks or supports meant for decorations, and ask the venue what is allowed before the day.
Make ahead, pack and refresh
A strip garland can be made about two months ahead. To pack it, lower it loosely into a box or a large paper bag in soft loops, starting with one end and finishing with the other on top. Store it somewhere dry and out of sunlight.
On the day, lift it out by the top end, shake it gently and run your fingers down through the tails.
Frequently asked questions
Should I tear or cut the fabric strips?
Tear plain woven cotton whenever you can. Tearing follows the weave, so every strip comes out straight, and it leaves a soft frayed edge that suits the look. Cut lace, tulle and ribbon with scissors, and cut any fabric that puckers or stretches instead of tearing cleanly.
How do I make a strip garland look fuller?
Push the knots tightly together along the cord and add more strips to the gaps that open up. Mixing in tulle helps too, because it gathers into a puff at each knot. Narrower strips packed closely look fuller than a smaller number of wide ones.
Can I use fabric scraps I already have?
Yes, this project suits scraps well. Any piece at least 16 inches long can be torn or cut into strips. Sort the scraps by color first and keep to two or three colors plus a neutral, so that the finished garland looks planned and matches your other decorations.