DIY Wedding Welcome Sign: A Hand-Lettered Board Step by Step
Letter your own welcome sign without freehand nerves: draft the wording on paper at full size, transfer it to the board with pencil rubbing, then fill in and thicken the strokes.
Project at a glance
Materials
- Smooth wooden board or foam board, about 18 x 24 in
- Fine sandpaper and a soft cloth
- Acrylic paint and a wide flat brush
- 6 sheets of letter-size paper, tape and a long ruler
- Soft pencil, hard pencil and soft eraser
- Paint pen or small round brush
- Brush-on, water-based sealer
- Greenery, floral wire and ribbon for the corner
The lettering is the part that makes most people hesitate. A DIY wedding welcome sign looks like it needs a steady, practiced hand, but the method below never asks you to letter freehand on the board. You work everything out on paper first, transfer it, and then simply fill in your own lines.
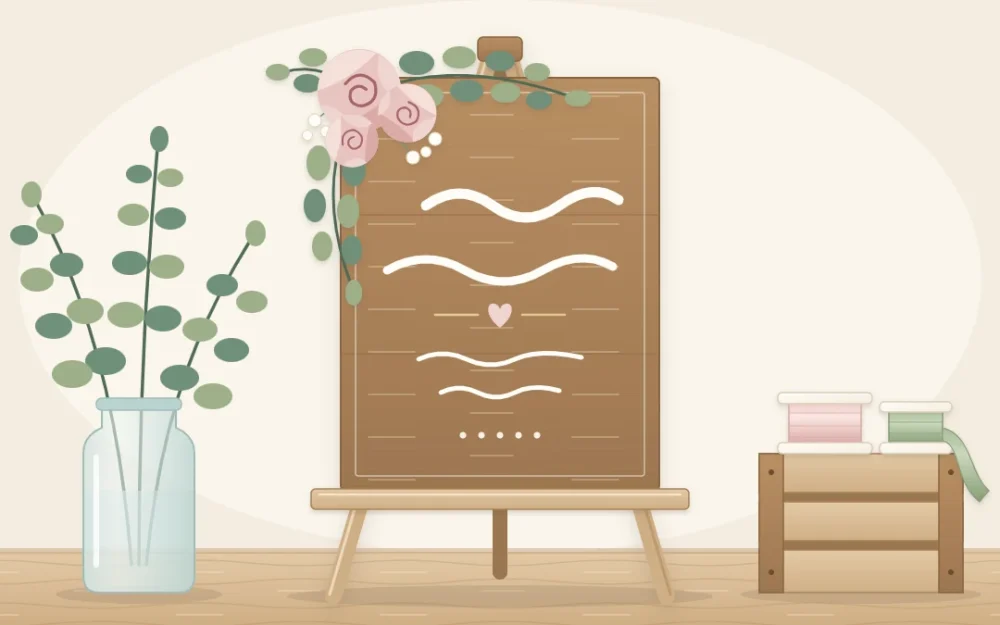
The sign is a board of about 18 x 24 in (46 x 61 cm).
What you need
- A smooth wooden board or a foam board, about 18 x 24 in
- Fine sandpaper and a soft cloth (wood only)
- Acrylic paint or wood stain for the background, if you want one, and a wide flat brush
- Six sheets of letter-size paper, tape and a long ruler
- A soft pencil (2B or softer), a hard pencil and a soft white eraser
- A paint pen with a medium tip, or acrylic paint and a small round brush
- Brush-on, water-based sealer (wood only)
Pick the background and lettering colors from the colors you are using everywhere else. If those are not settled yet, the guide to choosing a color palette for handmade decor is the place to begin. Strong contrast matters most: white on stained wood, or dark ink on a pale board, can be read from across a room.
Prepare the board
Wooden board. Sand the face lightly along the grain until it feels smooth, round the sharp edges and wipe away the dust. Then either brush on one thin coat of water-based sealer and leave the wood natural, or paint the face with two thin coats of acrylic paint. Sealing or painting first stops the lettering from bleeding into the grain. Let each coat dry for about an hour, or as long as the label says.
Foam board. Leave it as it is. It needs no sanding, and wet paint over the whole face can make it warp. Choose a board that is already the background color you want.
Draft the layout on paper at full size
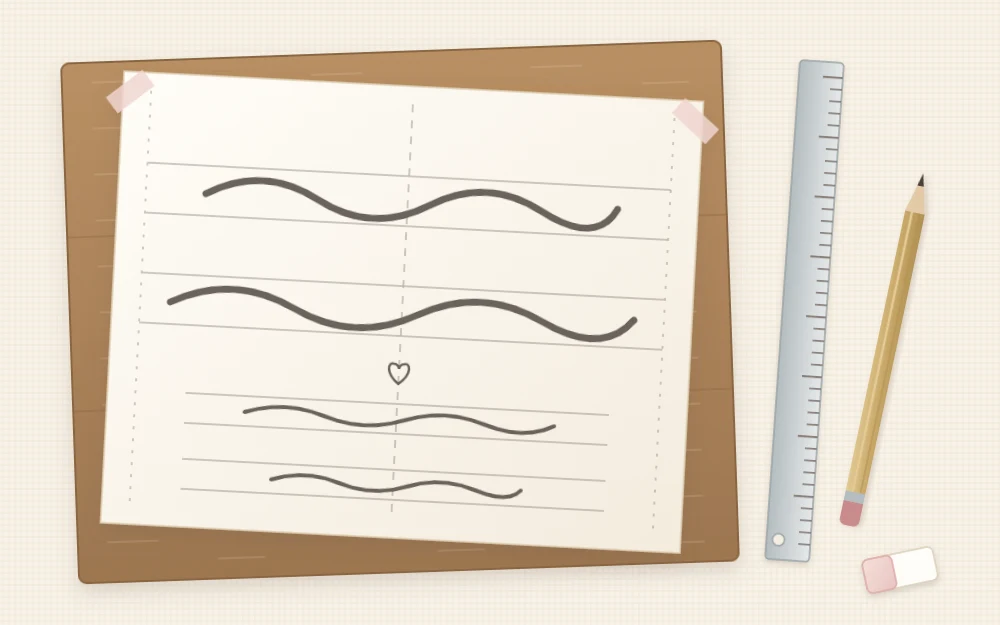
Tape the six sheets together, two across and three down with the long sides horizontal, and trim the result to the size of your board.
- Write your wording. Keep it short: a greeting, the names and perhaps the date. Fewer words mean larger letters.
- Rule the guides. Draw a margin about 2 in (5 cm) inside each edge and a vertical line down the middle. Then rule a baseline for each line of wording, plus a second line above it to mark the height of the small letters.
- Give each line a rank. Make the most important line, usually the names, the largest. Let the other lines be clearly smaller, not just slightly.
- Letter it in pencil. Write each line in your own handwriting, slowly and larger than feels natural. Erase and redo until the spacing looks even.
- Center each line. Measure the finished line, halve it and check that the midpoint sits on your vertical line. If it does not, redraw that line shifted over.
Transfer your lettering to the board
The pencil-rubbing method, also called graphite transfer, moves your draft onto the board without any special paper.
- Turn the draft face down. With the side of the soft pencil, shade heavily over the back of every area that has lettering on the front.
- Turn the draft face up and line it up on the board. Tape it along the top edge only, so it works like a hinge.
- Trace over every letter with the hard pencil, pressing firmly. Trace the outlines of the letters, not the guidelines.
- Lift the bottom of the paper to check that the lines have come through. If any are faint, lower the paper and go over them again.
On a dark background, graphite will not show. Rub white chalk over the back of the draft instead and transfer in the same way.
Fill in the letters
Test the paint pen or brush on the back of the board, or on a scrap of the same material, before touching the front. Then go over the transferred lines with steady, medium-speed strokes.
Work from the top line down. If you are right-handed, move from left to right; if you are left-handed, start at the right so your hand never rests on wet paint. A clean sheet of paper under your hand keeps the board free of smudges.
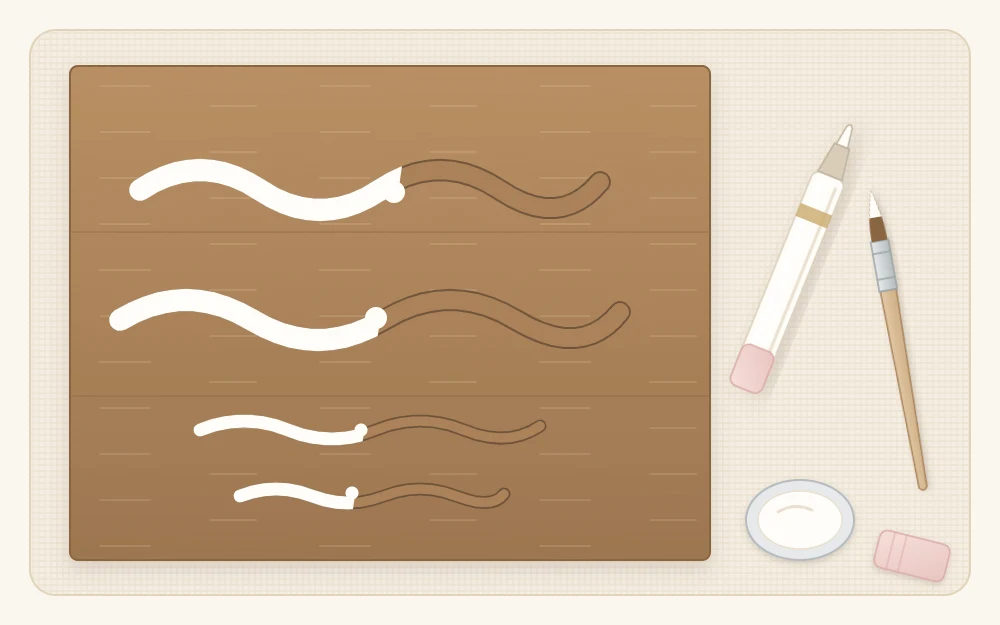
Thicken the downstrokes for a calligraphy look
This one step turns ordinary handwriting into something that looks like brush lettering. Look at each letter and find every stroke where your pen traveled downward. Draw a second line beside each of those strokes, about 1/8 in (3 mm) away, and fill the gap between the two.
Leave the upstrokes and the horizontal joins thin. Keep the added thickness on the same side of every downstroke, and the lettering will look consistent even if your handwriting is not.
Erase the guides and seal
Wait until the lettering is completely dry, roughly an hour and longer where the paint is thick. Then erase every visible pencil or chalk line with the soft eraser, using light strokes.
On a wooden board, finish with one thin coat of brush-on, water-based sealer. Test it first over a stroke of your pen on the back of the board, because some sealers smear some paint pens. Leave foam board unsealed.
Decorate one corner
A sign with one decorated corner looks more finished than one with decoration all around. Bind three or four stems of faux or fresh greenery into a small bundle with floral wire and tie it to the top left corner with a ribbon run around the back of the board. Leave long tails.
Another option is to hang a small floral hoop wreath from the top of the easel so that it overlaps one corner. Add fresh greenery only on the day or the day before.
Display the sign
Stand the sign on a sturdy easel on level ground, where guests will pass it as they arrive. Ask the venue where it may go. Outdoors, keep it under cover: water-based paint and foam board both suffer in rain, and a board on an easel catches the wind.
The finished sign can be made weeks ahead. Store it wrapped in a clean sheet, standing upright in a dry room.
Keep your paper draft, too. The same lettering style, scaled down, works for handmade table numbers, so the tables match the sign at the door.
Frequently asked questions
What if my handwriting is not good enough for a sign?
Ordinary handwriting is enough, because the look comes from the method. You write slowly on paper, correct the spacing as often as you like, transfer the result and then thicken every downstroke. That last step gives even plain handwriting the weight and rhythm of brush lettering.
Should I use a wooden board or foam board?
Wood is sturdier, can be stained, painted and sealed, and makes a keepsake afterward. Foam board is lighter and needs no preparation, but it dents easily, can warp if it gets wet and should stay indoors or under cover. For a first sign, either works with the same lettering method.
Which is easier for lettering, a paint pen or a brush?
A paint pen is easier for most beginners because it handles like a marker and gives an even line. A small round brush with acrylic paint gives a softer, more hand-painted edge but takes practice. Whichever you choose, test it on the back of the board before starting.