DIY Wedding Table Numbers: 5 Handmade Styles
Five handmade table number styles with sizes, from a folded tent card to a painted wooden round, plus a simple way to letter numerals that guests can read from across the room.
Project at a glance
Materials
- Heavy cardstock (100 lb or more)
- Paper trimmer or scissors, ruler and bone folder
- Pencil, eraser and a paint pen or marker
- Small wooden blocks, wood rounds or 5 x 7 in frames
- Wooden skewers or sturdy floral wire for picks
- Acrylic paint and a small brush
- Ribbon or greenery sprigs for decoration
Table numbers have two jobs: guests must be able to read them from the doorway, and they must still be standing at the end of the evening. Handmade ones can do both, as long as the card is stiff enough and the numeral is larger than feels natural when you draw it.
Below are five diy wedding table numbers, each with sizes and a note on where it works best, followed by the lettering method they all share and a way to batch ten or twenty without errors.
Five Styles at a Glance
| Style | Card size | Best for |
|---|---|---|
| Folded tent card | 7 x 5 in face | Any table; reads from both sides |
| Card in a wooden block | 5 x 7 in upright | Long tables and rustic decor |
| Card on a pick | 3 x 4 in | Small tables with a full centerpiece |
| Painted wooden round | 4 to 5 in across | Natural, woodland palettes |
| Framed card | 5 x 7 in | Formal tables near a wall |
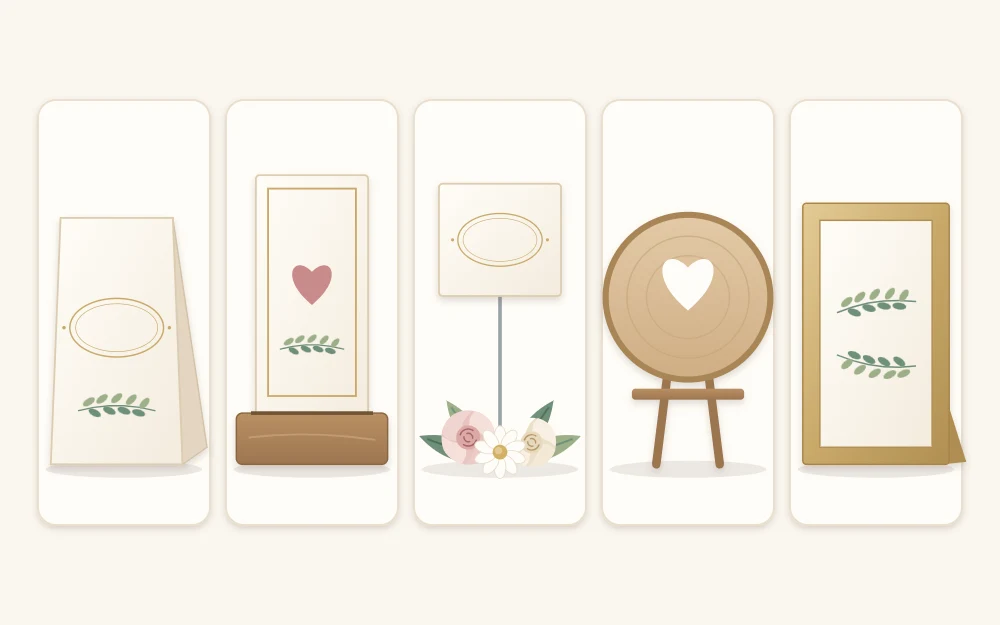
Style 1: Folded Tent Card
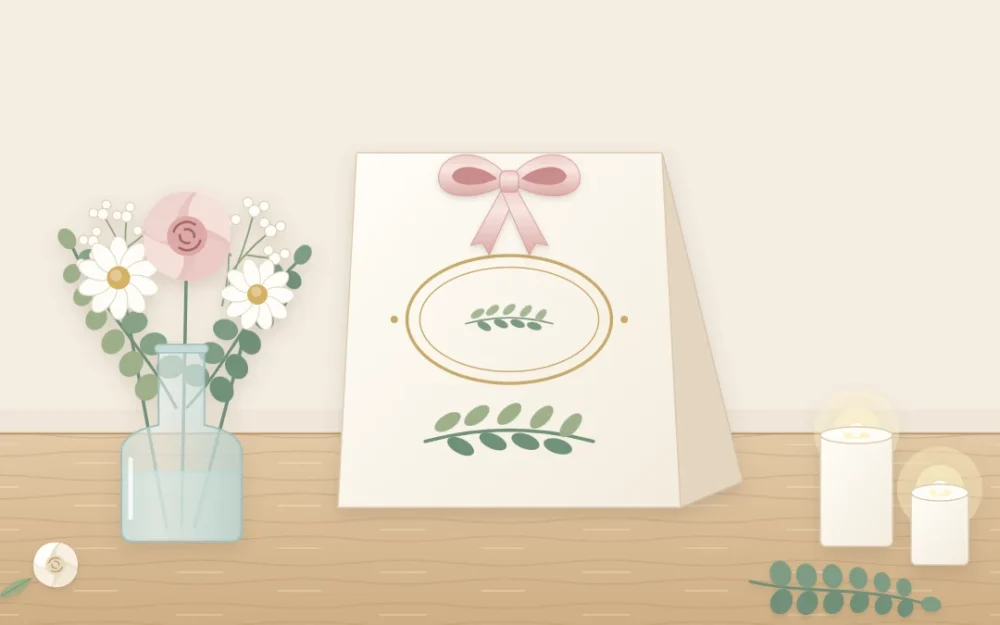
The tent card stands on its own and shows the number on both sides, which makes it the most practical of the five.
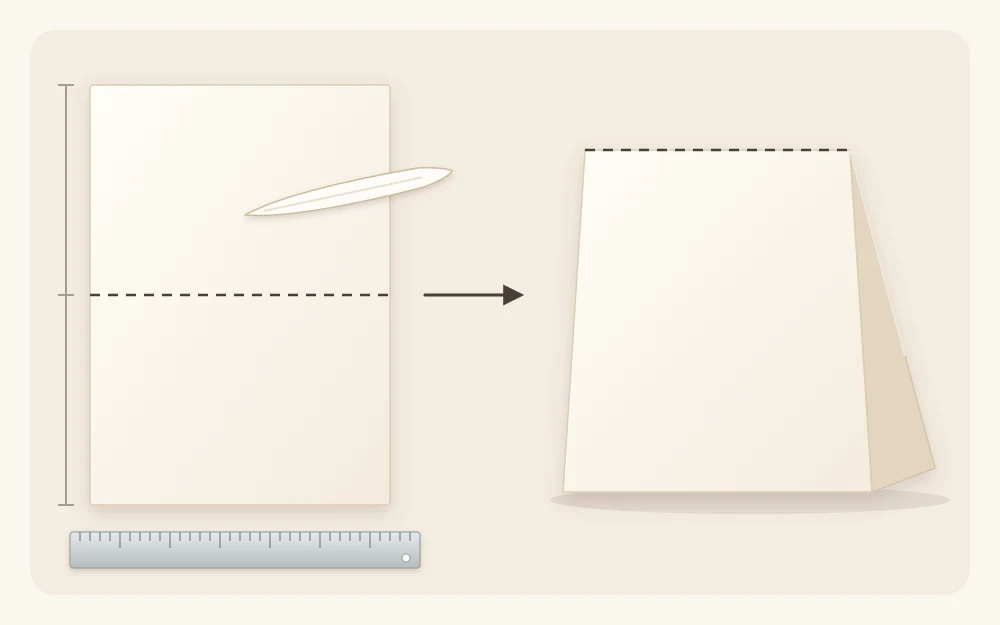
- Cut heavy cardstock, 100 lb or more, to 7 x 10 in (18 x 25 cm). One letter-size sheet gives one card.
- Score across the middle, 5 in (13 cm) from either short edge, and fold along the score. Each face is now 7 in wide and 5 in tall. The guide to cutting and scoring cardstock covers how to get a fold that does not crack.
- Letter the number on both faces while the card lies flat, turning it so each numeral is upright when the card stands.
Tip
If a tent card slowly spreads flat, tape a strip of cardstock about 1 in (2.5 cm) wide between the two bottom edges on the inside, or tie a ribbon around the card near the base.
Style 2: Flat Card in a Wooden Block
Cut a block of wood about 4 in (10 cm) long and 1 1/2 in (4 cm) square. Clamp it to a work surface and saw one slot along its length, about 1/2 in (13 mm) deep, keeping your free hand well away from the blade. Sand the edges smooth.
Cut the card to 5 x 7 in (13 x 18 cm) and stand it upright in the slot. If it leans, glue two cards back to back: the double layer fills a saw slot snugly and lets you number both sides. Blocks can be left raw, waxed or painted to match the table.
Style 3: Card on a Pick
Where the table is small, lift the number above the flowers instead of giving it its own footprint. Cut two cards of 3 x 4 in (7.5 x 10 cm), sandwich the top 1 in of a wooden skewer or a length of sturdy floral wire between them with double-sided tape, and press firmly.
Push the pick down among the stems so the card sits just above the tallest flower. This works best with jar and vase arrangements; the roundup of handmade centerpiece ideas shows which designs have room for one.
Style 4: Painted Wooden Round
Use a sanded wood slice or a plain craft disc about 4 to 5 in (10 to 13 cm) across. Brush on two thin coats of acrylic paint in a palette color, letting each dry for roughly 30 minutes, or leave the wood bare.
Letter the number with a paint pen and stand the round on a small plate stand or mini easel. A round has only one face, so angle it toward the entrance.
Style 5: Framed Card
A 5 x 7 in card in a simple frame looks formal and survives a breeze. Remove the glass to avoid reflections, and add a mat of colored cardstock behind the number card if you want a border.
Frames are also one-sided. Place two back to back on round tables, or keep this style for tables along a wall.
Lettering Numbers That Read Across the Room
The same steps apply to every style.
- Rule two light pencil guidelines for the top and bottom of the numeral. On a 5 x 7 in card, aim for a numeral about 3 in (7.5 cm) tall.
- Sketch the number as a single pencil line, centered between the edges.
- Draw a second line beside each downstroke to thicken it to about 1/4 in (6 mm). Thin strokes are what make numbers vanish at a distance.
- Fill in with a paint pen, a marker or a small brush and acrylic paint. Dark on light, or white on a deep color, reads best.
- When the ink is fully dry, erase the guides.
Prop the first finished card up and walk to the far side of the room. If you hesitate over the number, make it taller or the strokes heavier before continuing.
For decoration, keep to the edges: a ribbon tied around the fold, a hand-painted leaf sprig in one corner, or a real sprig tucked into the block. Cutting the cards from the same cardstock as your handmade place cards ties each table together without extra work.
Check the view across the table
Sit down at a table with the number in place and look across. A marker at eye level between two seats blocks conversation. Tent cards and rounds sit low enough to talk over; an upright card in a block or frame is better placed toward one end of the centerpiece than dead center.
Batching 10 to 20 Tables
- Make one complete sample first and approve it before cutting the rest.
- Work in stages: cut everything, score everything, pencil everything, then ink everything. Your numerals stay consistent when you draw them in one sitting.
- Count faces, not cards. Twenty double-sided tent cards mean forty numerals.
- Make two blank spares in case a table is added or a card is smudged.
- Stack the finished cards in order with a sheet of paper between them, and store them flat and dry. Paper and wood versions can be made weeks or months ahead.
Frequently asked questions
What size should wedding table numbers be?
A card of about 5 by 7 inches is a dependable size for most tables. It gives room for a numeral around 3 inches tall, which stays readable from across a room, and it is still small enough not to crowd the place settings or the flowers.
Do table numbers need to be double-sided?
On round tables in the middle of a room, yes, because guests approach from every direction. Tent cards do this naturally, and flat cards can be glued back to back. One-sided styles such as frames and wooden rounds are fine when they face the entrance or stand near a wall.
What pen works best for hand-lettered table numbers?
A paint pen or a broad marker gives solid, even strokes on cardstock, and a paint pen also covers wood and dark paper. Whatever you use, test it on an offcut of the same material first to check that it does not bleed, and let it dry fully before erasing pencil lines.