DIY Wedding Place Cards: Tent Cards, Tags and Leaf Cards
Three handmade place card styles with exact sizes, a cutting order that gives six tent cards per sheet, and tips for writing names neatly and keeping every card in table order.
Project at a glance
Materials
- Heavy cardstock (80 lb or more)
- Paper trimmer or scissors and a ruler
- Bone folder for scoring
- Pencil and eraser
- Fine-tip pen or paint pen
- Hole punch and twine for tags
Place cards are the one handmade project where the guest count really bites: every single person needs one, spelled correctly, in the right seat. The good news is that diy wedding place cards are small, flat and quick, and with a sensible cutting order you can make a hundred in an evening or two.
Here are three styles that share the same tools: a folded tent card, a tied tag and a leaf-shaped card. Pick one and repeat it; the repetition is what makes a table look deliberate.
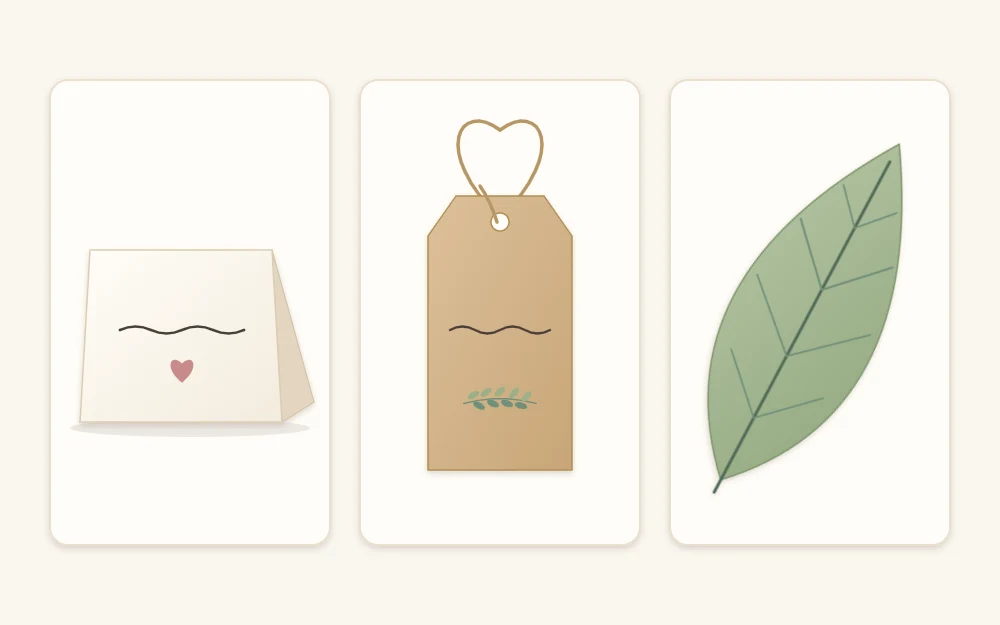
Three Styles to Choose From
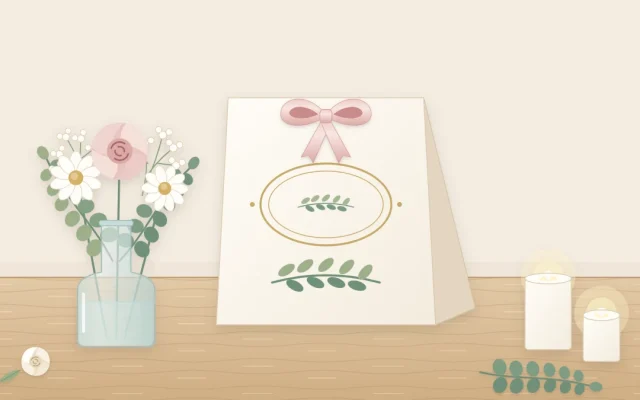
- Tent card: the classic place card, folded so it stands above the plate. Finished size 3 1/2 x 2 in (9 x 5 cm).
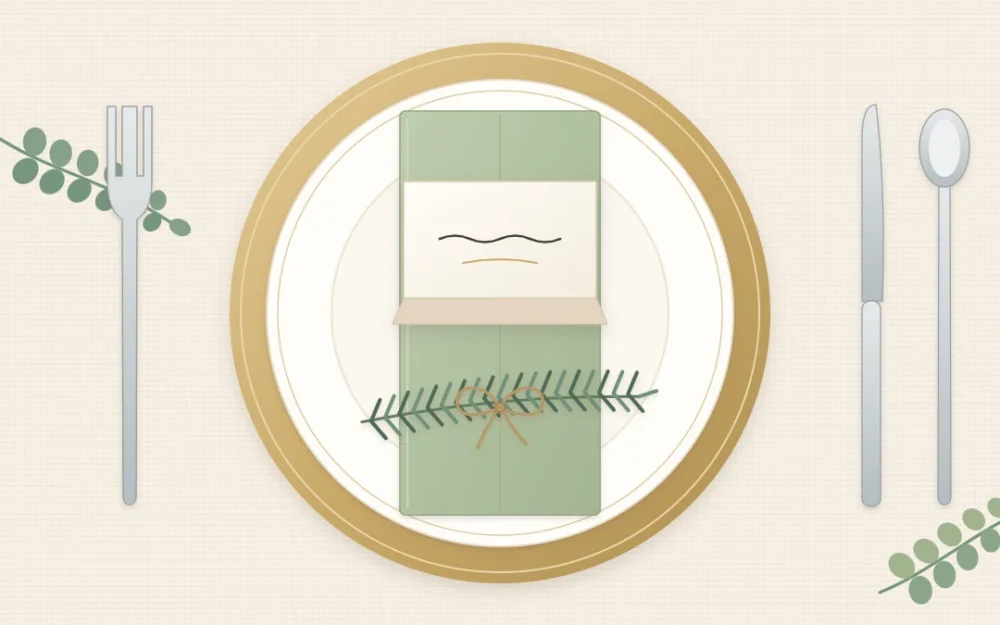
- Tag: a flat card of 2 x 3 1/2 in tied to the napkin or to the favor with twine.
- Leaf card: a leaf drawn freehand, about 4 in (10 cm) long, laid on the plate or tucked into the napkin fold.
Work Out How Many Sheets You Need
Start from your guest list, then add about one spare for every ten guests to cover spelling mistakes and late changes. For 100 guests that is 110 cards.
A letter-size sheet gives six tent cards, twelve tags or about ten leaves. Divide your total by the number per sheet and round up: 110 tent cards divided by six is just over 18, so 19 sheets are the minimum and 20 is a comfortable order. Use heavy cardstock, around 80 lb or more, so the cards stand without curling.
Style 1: The Tent Card
Each card is cut 3 1/2 x 4 in (9 x 10 cm) and folded in half. Cutting strips first and scoring them before they become single cards saves a great deal of handling.
- Cut each sheet lengthwise into two strips 4 in wide and 11 in long. A narrow offcut of 1/2 in (13 mm) is left over.
- Score each strip down its full length, 2 in (5 cm) from the edge. One score line now serves three cards.
- Cut across each strip every 3 1/2 in to make three cards, with another small offcut at the end.
- Fold each card along the score and press the crease flat.
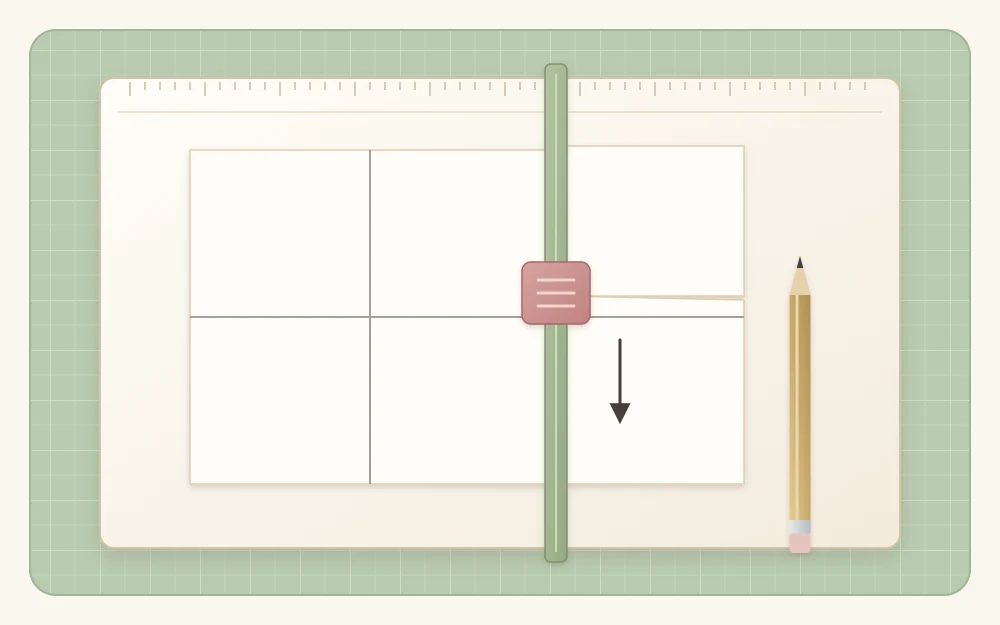
A paper trimmer keeps every card identical; scissors along ruled pencil lines work too, only more slowly. If your folds crack or wander, the guide to scoring cardstock for clean folds explains the cause.
Style 2: The Tied Tag
Cut the sheet lengthwise into four strips 2 in wide, then cut across each strip every 3 1/2 in. That gives twelve tags per sheet. Clip the two corners at one end for a luggage-tag shape and punch a hole about 1/4 in (6 mm) from that end.
Allow 12 in (30 cm) of twine per tag: 110 tags need 110 ft, which is roughly 37 yd (34 m). Thread the twine through the hole and tie it around the rolled napkin, or around the neck of a favor bag so one piece does two jobs. For other tag shapes and ways to reinforce the hole, see the tutorial on handmade favor tags.
Style 3: The Leaf Card
Leaf cards suit green, sage or kraft cardstock and look best slightly irregular, so there is no need for perfect symmetry.
- On a scrap of cardstock, draw a simple pointed oval about 4 in long and 2 in wide, with a short stem at one end. Cut it out. This is your own master shape.
- Draw around the master in pencil on the back of the cardstock, fitting the leaves close together. About ten fit on a letter-size sheet.
- Cut out the leaves with scissors, turning the card instead of the scissors on the curves.
- Score a light center vein from stem to tip and bend the leaf very slightly along it, so it lifts off the plate.
- Write the name along one side of the vein with a white or metallic paint pen.
Tip
Paint pens need a moment to start flowing. Prime the pen on an offcut each time you pick it up, and let every leaf dry for a few minutes before stacking.
Writing the Names Neatly
Handwriting looks far more even with a baseline. On tent cards, rule a faint pencil line about 5/8 in (16 mm) above the bottom edge of the front face. Rule a whole stack at once by lining the cards up against a ruler.
- Write the longest name on your list first, on a spare. It tells you how large your lettering can be.
- To center a name, write it once on scrap paper, measure its width, and start half that distance to the left of the card’s midpoint.
- Use a pen that does not bleed on your cardstock: test on an offcut and wait a minute before touching it.
- Erase the pencil line only when the ink is completely dry.
If your handwriting worries you, plain capitals with generous spacing look tidy and are easy to keep consistent over a hundred cards.
Keep a List and Make Spares
Work from a single list sorted by table, and tick each name as its card is finished. Spelling slips are much easier to catch when you check each card against the list immediately instead of at the end.
Leave your spare cards blank, cut and folded, and bring them with a pen. A changed name or an extra guest then takes one minute to fix.
Store the Cards in Table Order
Paper place cards can be finished weeks ahead. Keep tent cards folded flat and stand them in a shallow box in seating order, with a divider of scrap cardstock between tables. Number each divider to match your handmade table numbers, so whoever sets the tables can lift out one group at a time.
Store the box somewhere dry and out of sunlight. Tags can be tied to napkins or favors a day or two ahead; leaf cards travel best in a single layer between sheets of paper so the bend along the vein is not pressed out.
Frequently asked questions
What size is a standard place card?
A folded tent card is commonly 3 1/2 inches wide and 2 inches tall when standing, cut from a piece 3 1/2 by 4 inches. That size has room for a first and last name in clear handwriting and gives six cards from one letter-size sheet of cardstock.
How many extra place cards should I make?
Plan about one spare for every ten guests. Some will replace cards with spelling slips or smudges, and the rest stay blank for late changes to the guest list. Bring the blank spares and the same pen with you, so a new card can be written on the spot.
What kind of pen should I use on place cards?
A fine-tip pigment pen suits light cardstock, and a white or metallic paint pen shows up well on kraft, green and dark colors. Always test on an offcut of the same cardstock first, since some pens feather on soft paper, and let the ink dry before erasing guidelines.