How to Make Ribbon Wands for a Wedding Send-Off
Make reusable send-off wands from a wooden dowel, a screw eye and three ribbons. Includes exact sizes, a fast batch method for 50 or 100 and how much ribbon to buy.
Project at a glance
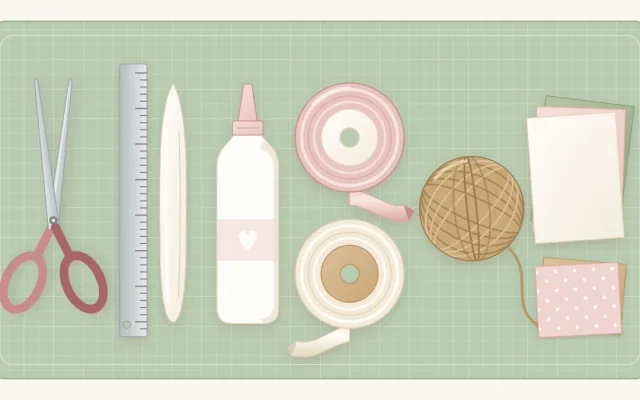
Materials
- 12 in (30 cm) wooden dowel, about 3/8 in thick
- Small screw eye
- 3 ribbons of 30 in (76 cm) each, in mixed widths
- Fine sandpaper and a pushpin
- Sharp scissors
- Clear-drying craft glue for fraying ends
- Small bell (optional)
A send-off needs something for guests to do with their hands, and ribbon does the job without leaving anything on the ground. Wedding ribbon wands are short sticks with a cluster of ribbons at the tip that flutter when waved, and they can be collected and used again afterward.
Each wand is a wooden dowel, a small metal eye and three ribbons. The steps below cover one wand first, then a batch method for 50 or 100 and the sums for working out how much ribbon to buy.
What you need for one wand
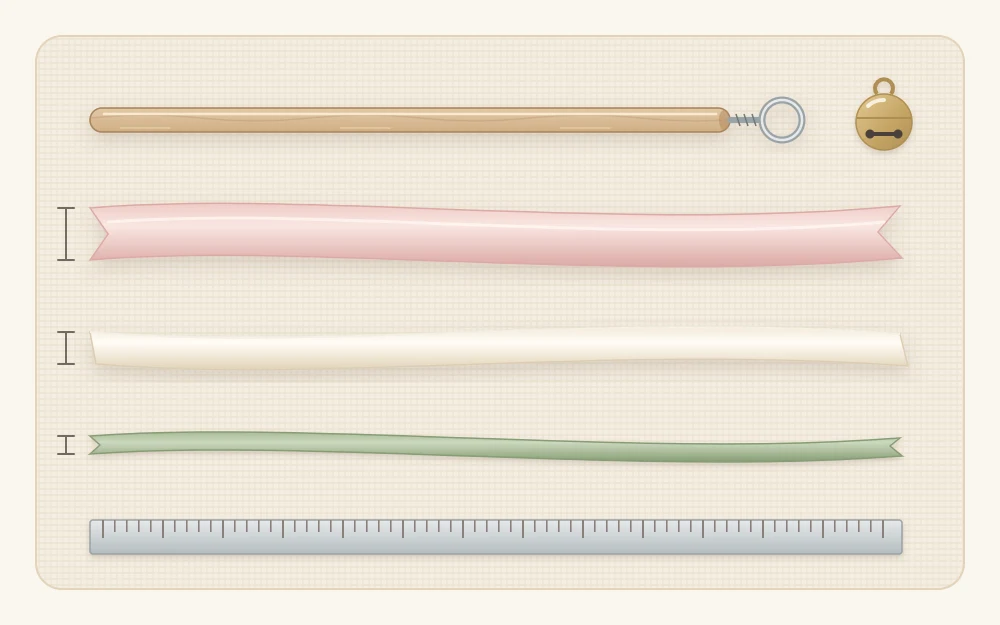
- One wooden dowel, 12 in (30 cm) long and about 3/8 in (10 mm) thick
- One small screw eye with an opening of about 1/4 in (6 mm)
- Three ribbons, each 30 in (76 cm) long, in mixed widths: for example 1/4 in, 3/8 in and 5/8 in (16 mm)
- Fine sandpaper, a pushpin and sharp scissors
- Clear-drying craft glue, if your ribbon frays
- Optional: one small bell
Many craft dowels are sold 36 in (91 cm) long, which gives three wands each. Ask for them to be cut where you buy them, or saw them yourself and sand the ends. If any of the basic tools are new to you, the starter kit of craft supplies explains what to gather.
Choosing the ribbon
Mixed widths and textures move better than three identical ribbons. A good trio is one satin, one sheer organza and one narrow grosgrain or lace, in two or three of your colors.
Keep the widest ribbon to about 5/8 in. All three have to pass through the screw eye together, and anything wider bunches up and will not knot neatly.
How to make a ribbon wand
- Sand the dowel. Round over both cut ends with fine sandpaper and rub lightly along the length until nothing catches on your fingers. Wipe off the dust.
- Start the hole. Press a pushpin into the exact middle of one end to make a small starter hole, then remove it.
- Fit the screw eye. Twist the screw eye into the starter hole by hand until the thread is fully buried and the eye sits against the wood. If the dowel begins to split, stop, back it out and use a thinner screw eye.
- Add the bell. If you are using one, slide it onto the narrowest ribbon and move it to the middle.
- Thread the ribbons. Stack the three ribbons, feed one end of the stack through the eye and pull until the midpoint sits in the eye. Folding the stack in half first makes the middle easy to find.
- Knot at the midpoint. Gather all six tails below the eye and tie them together in one snug overhand knot, right against the metal. Six tails of roughly 14 in (36 cm) now hang from the tip.
- Finish the ends. Trim each tail at an angle. A slanted cut frays far less than a straight one.
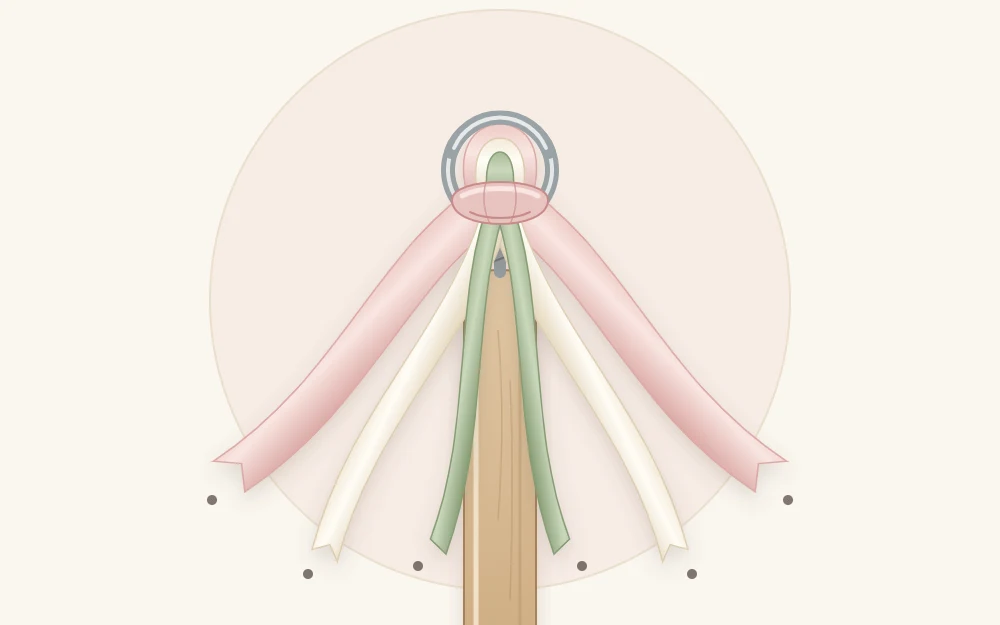
For a dressier finish, tie a short extra length of ribbon in a small bow just under the screw eye. The guide on tying a ribbon bow that sits straight shows how to keep it from twisting.
No screw eye? Use a glued ribbon loop
If the dowels are too thin for a screw eye, or you would rather have no metal parts, make a loop instead. Cut a 3 in (7.5 cm) piece of narrow ribbon and fold it in half. Glue the two ends to opposite sides of the dowel tip with tacky glue, so about 1/2 in (12 mm) of loop stands above the wood.
Wrap a second short piece of ribbon tightly around the glued ends, fix it with another dot of glue and let it dry for about an hour. Then thread and knot the three ribbons through the loop exactly as you would through the metal eye.
Stopping the ends from fraying
An angled cut is enough for most satin and grosgrain. Loosely woven ribbon needs a little more help. Run a very thin line of clear-drying glue along each cut edge with a toothpick, lay the tails flat on wax paper and leave them for about 20 minutes.
Safety note
Screw eyes have sharp points and bells are small. Check that every eye is fully screwed in before the wands are handed out, and skip the bells for wands that will be given to very young children.
How much ribbon to buy
Three ribbons of 30 in each is 90 in, or 2 1/2 yd (2.3 m), per wand. If you use three different ribbons, each wand takes 30 in of each one.
To work out your own quantity, add about one spare wand for every ten, then multiply:
- 50 wands: make 55. That is 55 x 30 in = 1,650 in, or about 46 yd (42 m), of each of the three ribbons.
- 100 wands: make 110. That is 3,300 in, or about 92 yd (84 m), of each ribbon.
For dowels, divide the number of wands by three if you are cutting 36 in lengths: 55 wands need 19 dowels.
Batch method for 50 or 100 wands
Cut every ribbon before you assemble anything. The fastest way is a wrapping card: cut a piece of stiff cardboard 15 in (38 cm) long, wind the ribbon around it lengthwise without pulling it tight, and count the turns. Snip straight through all the layers at one end only. Each turn becomes one 30 in piece.
Then set up stations and finish each step for the whole batch before starting the next:
- Sand all the dowels.
- Make the starter holes and fit all the screw eyes.
- Sort the cut ribbons into sets of three.
- Thread and knot.
- Trim and seal the tails.
Storing and handing out the wands
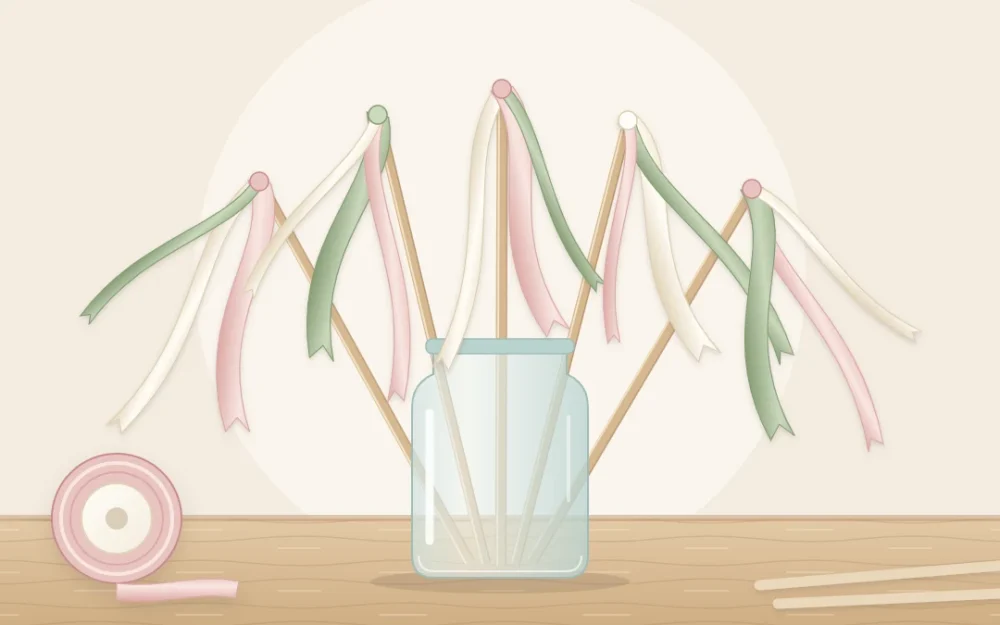
Ribbon wands can be made about two months ahead. Store them standing upright in tall jars or vases with the ribbons hanging free, or lay them flat in a shallow box in a single layer with the tails smoothed straight. Do not bundle them with rubber bands, which leave creases.
At the send-off, set the wands out upright in jars or a basket near the exit so each guest can take one on the way out. If you would also like something to throw, pair them with paper confetti cones filled with dried petals, and ask the venue first what is allowed.
Frequently asked questions
How long should the ribbons on a wand be?
Ribbons cut to about 30 inches and knotted at the middle give tails of roughly 14 inches, which flutter well on a 12 inch stick without tangling. For children or a tight space, cut them to about 24 inches instead. Make one sample and wave it before cutting the rest.
What kind of ribbon works best for ribbon wands?
Soft, unwired ribbon in mixed textures moves best: satin for shine, organza for lightness and a narrow grosgrain or lace for contrast. Keep the widest one to about five eighths of an inch so that all three fit through the eye and knot neatly at the tip.
Can ribbon wands be reused after the wedding?
Yes, they hold up well to waving. Collect them in a basket after the send-off, smooth the tails and store them upright or flat. They can be passed on to another couple, used at a party, or untied so that the ribbon and dowels can go into other craft projects.