Wedding Crafts for Beginners: Where to Start
A calm starting point for first-time crafters: how to choose two or three forgiving projects, the five skills they share, how to count materials and when to make each piece.
Handmade details are within reach even if the last thing you made with scissors and glue was a school project. The secret of wedding crafts for beginners is not talent. It is choosing a small number of forgiving projects and leaving enough time to make them calmly.
Think of this guide as a starting map: what to make first, which skills to practice, how to count what you need and when to do each job. The step-by-step instructions for each project live in their own tutorials, linked along the way.
Pick two or three projects, not twenty
The most common beginner mistake is a list that is far too long. Every project you add is multiplied by the number of guests or tables, so a “quick” idea can turn into a hundred pieces.
Start by writing down everything you would like to make. Then keep only the two or three that matter most to you, using these questions:
- Will guests see or touch it? A place card at every seat gets more attention than a detail tucked in a corner.
- How many do you need? One welcome sign is a different job from 120 favor tags.
- Can it be made early? Paper and ribbon pieces can be finished weeks ahead. Anything with fresh flowers cannot.
- Does it repeat one simple step? Projects built from one cut, one fold and one knot are the easiest to batch.
Crafts that forgive a first attempt
Some crafts hide small wobbles well. These four are good places to begin:
- Tags. A small rectangle of cardstock, a punched hole and a loop of twine. If one goes wrong, you have lost a scrap of paper.
- Place cards. A tent card is one straight cut and one fold. The only real skill is writing a name neatly, and a pencil baseline helps with that.
- Ribbon work. Ribbon wands, napkin ties and chair ties need cutting and knotting, nothing more. Ribbon can be untied and retied until it looks right.
- Simple garlands. Strips of fabric knotted onto twine look full and soft even when the strips are uneven. Uneven is part of the charm.
For specific projects sized for one sitting, browse the list of easy projects you can finish in an evening.
Five skills almost every project uses
Nearly every handmade wedding piece comes down to the same handful of moves. Spend half an hour on each with scrap material before you touch the good paper.
- Measuring and marking. Measure from one straight edge of the sheet, mark lightly in pencil at two points and join the marks with a ruler.
- Clean cutting. Sharp scissors and long, smooth strokes give a better edge than short snips. A paper trimmer makes identical straight cuts faster.
- Scoring. To score is to press a groove along the fold line without cutting, so heavy cardstock folds crisply instead of cracking.
- Gluing. Less is better. A thin, even coat of white glue or a strip of double-sided tape holds paper flat; a puddle of glue warps it.
- Tying a bow. A bow that sits straight with both tails hanging down is a matter of method, not luck. The guide on tying a neat ribbon bow shows the direction of each wrap.
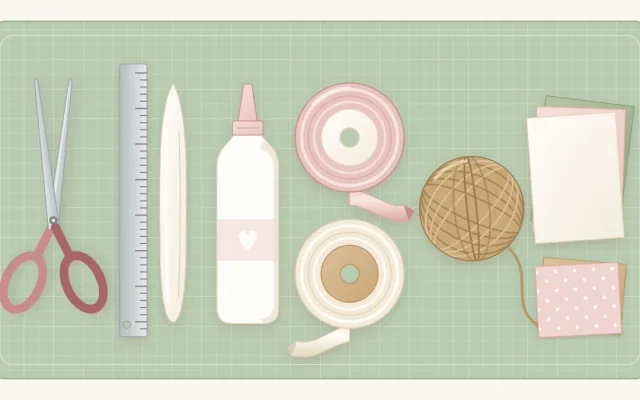
You do not need a room full of tools for any of this. A short list of basics covers almost everything, and the starter kit of craft supplies explains what each item is for.
Make one test piece before the batch
Before you cut fifty of anything, make one complete piece from start to finish with the real materials. A test piece tells you things a plan cannot:
- how long one piece really takes, so you can estimate the whole batch
- whether the paper is heavy enough and the ribbon is the right width
- whether the glue shows, wrinkles the paper or lets go
- whether the size looks right next to a plate, a jar or a chair
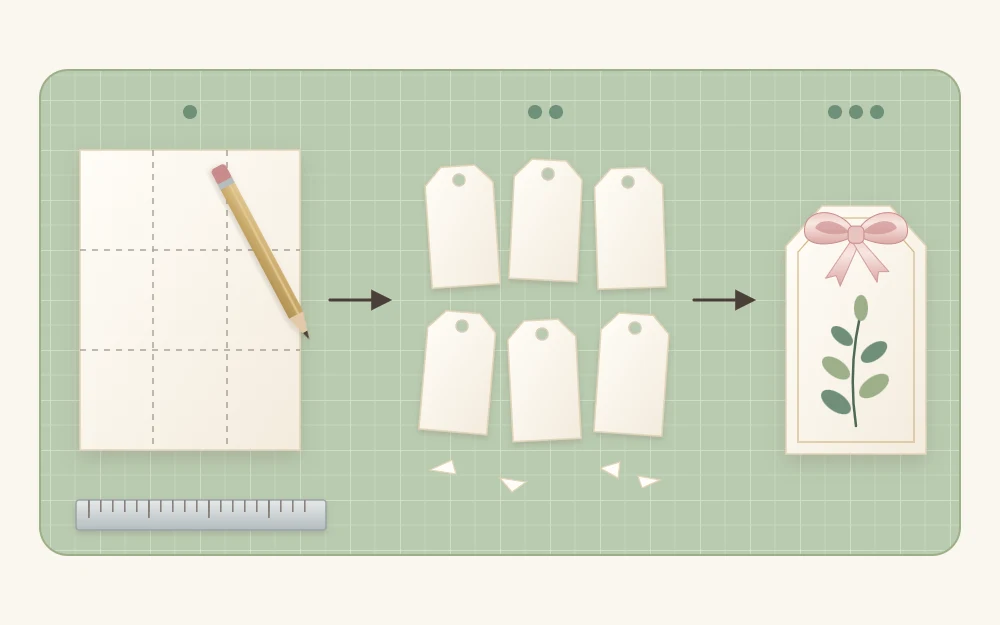
Keep the test piece on your work table as the sample. When you are tired on tag number sixty, it reminds you what “finished” looks like, and it gives helpers something to copy.
Tip
Time your test piece from first cut to last knot, then multiply by your quantity. If the answer is more evenings than you have, simplify the design now rather than halfway through.
Count what you need, plus spares
Work out quantities on paper before you gather materials. Sort your projects into three groups: one per guest, one per table and one-off pieces.
For anything made per guest or per table, add roughly one spare for every ten. Spares cover miscuts, smudged names and last-minute changes. For 80 guests, that means planning for about 88 place cards.
Then turn pieces into materials. If one tag needs a 12 in (30 cm) length of twine, 88 tags need 1,056 in, which is a little under 30 yd (27 m). Doing this sum for each material keeps you from running short in the middle of a batch, when a second roll may not match the first.
Work backwards from the date
Different materials have very different shelf lives, so the calendar matters as much as the method. Count back from the wedding and place each job where it belongs.
| Roughly when | What to work on |
|---|---|
| Two to three months ahead | Choose projects and colors, gather supplies, make test pieces |
| One to two months ahead | Paper pieces: tags, cards, table numbers, boxes |
| Three to six weeks ahead | Ribbon and fabric pieces: wands, garlands, bows, chair ties |
| The last week | Writing names, final counts, packing by table |
| The last day or two | Fresh flowers and fresh greenery only |
Store finished paper, ribbon and fabric pieces flat, dry and out of sunlight. Fresh flower work stays at the very end and is kept cool until it is needed.
Keep everything looking like one set
A few simple pieces in matching colors look more polished than many pieces in unrelated ones. Settle your colors before you buy any paper or ribbon, and carry real samples with you when you choose materials. The guide to building a color palette for handmade decor walks through it.
Repeat one or two materials across projects as well: the same twine on tags and jars, the same ribbon on wands and chairs. Repetition is what makes handmade pieces read as a planned collection.
Frequently asked questions
How many wedding crafts should a beginner take on?
Two or three is a comfortable number for a first-time crafter. Each project is multiplied by your guest or table count, so even a short list means a lot of pieces. Finish those first, and add another project only if you still have spare evenings and enjoy the work.
What is the easiest wedding craft to start with?
Favor tags are a gentle first project. Each one is a small piece of cardstock with a punched hole and a loop of twine, so a mistake costs almost nothing. Tent place cards and ribbon wands are close behind, because they rely on one straight cut, one fold or one knot.
How far ahead can handmade wedding decorations be made?
Paper, ribbon and fabric pieces can be made weeks or even a couple of months ahead, as long as they are stored flat, dry and away from sunlight. Fresh flowers and fresh greenery are different: plan those for the last day or two and keep them cool until they are needed.