Best Glue for Wedding Crafts: Which Adhesive for Which Material
A matching guide to adhesives by type: which glue or tape to use on paper, ribbon, lace, fabric, glass and flowers, with a comparison table and fixes for warping, show-through and glue strings.
Most handmade wedding projects that fail do so at the join: a tag that curls, lace that slides down a jar, a ribbon with a dark stain where the glue soaked through. The material was fine. The adhesive was wrong for it.
There is no single best glue for wedding crafts. There is a best one for each pair of materials, and the choice is simple once you know what each type does. This guide matches adhesive types to paper, ribbon, fabric, glass and flowers.
The adhesives worth having
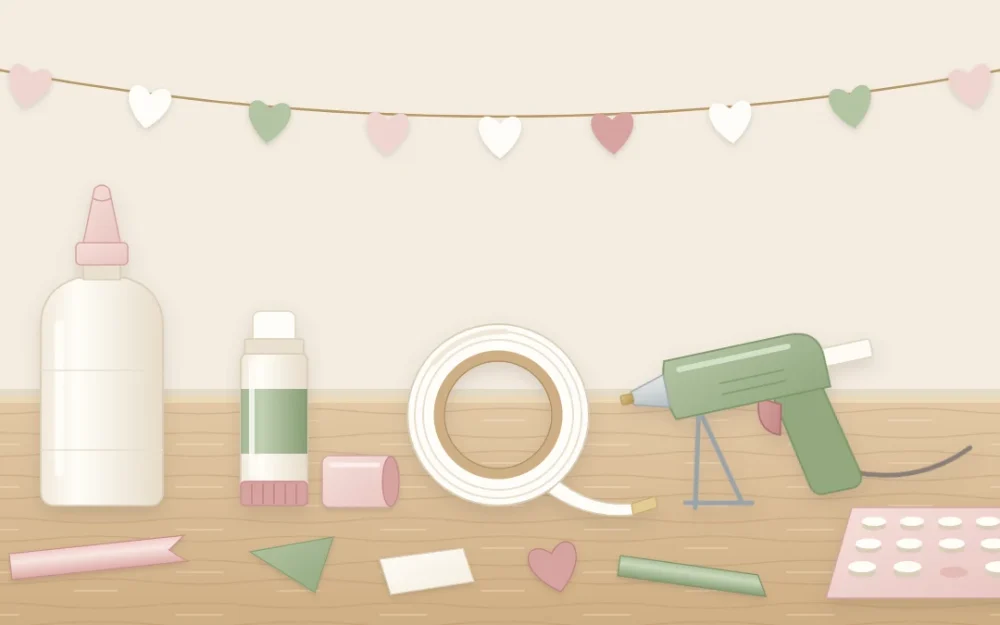
You do not need all of these. A glue stick, double-sided tape, white glue and tacky glue cover most paper and ribbon work, and the rest earn their place only if your projects call for them. The starter kit of wedding craft supplies shows where they sit among the other tools.
| Adhesive | Best for | Grab time | Watch out for |
|---|---|---|---|
| White (PVA) glue | Cardstock seams, boxes, paper to cardboard | About 1 to 2 minutes; firm in roughly an hour | Warps thin paper if applied thickly |
| Tacky glue | Ribbon, lace, trims, small embellishments | Under a minute | Shows through sheer ribbon |
| Glue stick | Thin paper layers, envelope liners | Almost instant | Weak on heavy or textured card |
| Double-sided tape | Card layers, ribbon bands, box seams | Instant | Cannot be repositioned |
| Foam adhesive dots | Raised hearts, tags and flat bows | Instant | Adds thickness inside envelopes |
| Low-temperature hot glue | Faux flowers, wood, burlap, twine on jars | About 15 to 30 seconds | Strings, visible lumps, burns |
| Fabric glue | Hems, fabric to fabric, fabric to cardboard | A few minutes; full strength overnight | Can stiffen or mark fine fabric |
| Clear-drying craft glue | Glass, beads, metal charms | Several minutes; often a day to cure | Strong smell with some types |
| Floral tape and floral adhesive | Binding stems; fixing fresh flowers | Tape grips when stretched | Tape does not stick unless stretched |
Times are approximate. They change with the room temperature, the humidity and how much glue you use.
Paper and cardstock
Paper is the material most easily spoiled by glue, because water makes its fibers swell. White glue, also called PVA, is a water-based adhesive, so the rule is thin coats.
- Layering panels on a card: double-sided tape or a glue stick. Neither adds moisture, so nothing curls.
- Box and cone seams: a thin line of white glue spread with a fingertip or a scrap of card, held for about a minute, or a strip of double-sided tape for speed.
- Raised details: foam adhesive dots, one in the middle of small shapes and one at each corner of larger ones.
If a panel has already curled, press it under a heavy book for a few hours while it dries. A join also holds better on a neat fold, which is covered in the guide to cutting and scoring cardstock.
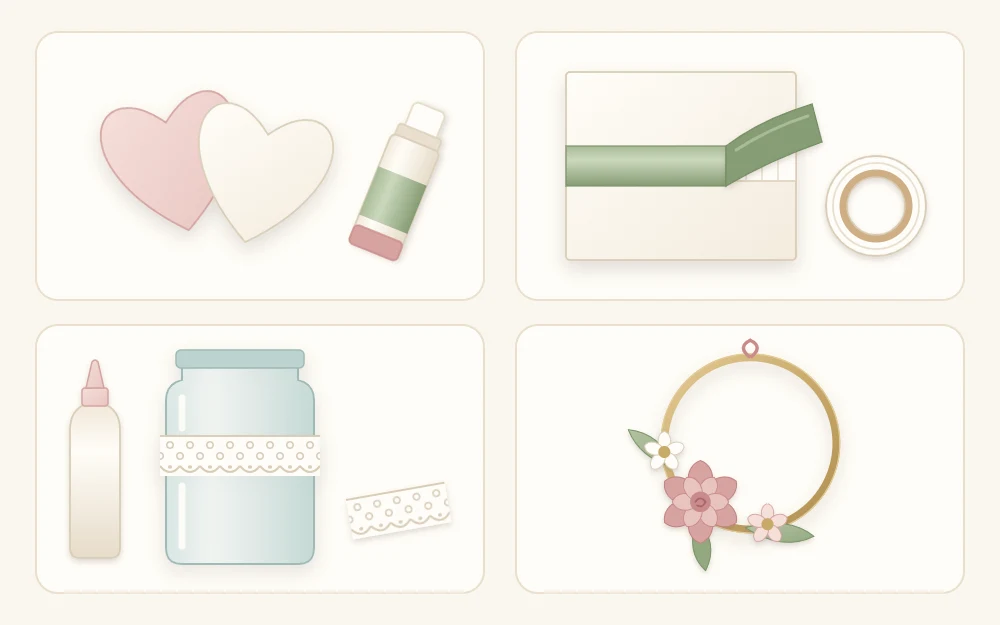
Ribbon, lace and fabric
Thin ribbon is nearly transparent to wet glue. A blob of white glue under satin dries as a dark, stiff patch that no bow will hide.
- Ribbon to paper: narrow double-sided tape along the back of the ribbon. Wrap the ends around to the back of the panel and tape them there, where nothing shows.
- Ribbon ends and bow centers: a small dot of tacky glue, applied with a toothpick.
- Sheer ribbon and tulle: avoid glue on the visible part. Knot it, stitch it, or glue only where another layer covers the spot.
- Fabric to cardboard: white glue thinned with a few drops of water and brushed on the cardboard, not the fabric, or fabric glue for heavier cloth. Smooth from the center outward. This is the method used for covering a card box with fabric.
Glass, wood and metal
Smooth, non-porous surfaces give water-based glue nothing to soak into, so it dries slowly and peels easily. Wash glass first and wipe it dry so that no grease or label residue is left.
- Lace or ribbon bands on a jar: tacky glue in small dots at the overlap, or double-sided tape under the band. A band that grips itself needs glue only at the join.
- Twine wrapped around a jar: dots of tacky glue every few turns, or low-temperature hot glue at the start and finish.
- Beads, charms and wooden shapes: clear-drying craft glue, left undisturbed for as long as its label says.
- Faux flowers on a metal hoop: floral wire first, with a dot of low-temperature hot glue to stop a bloom from spinning.
Flowers and greenery
Fresh stems are damp, and ordinary glue will not hold on them. Floral tape is not sticky on the roll: it turns tacky when you stretch it, so pull gently as you wrap and it bonds to itself. Liquid floral adhesive is made for fixing fresh blooms to a wired base.
Dried and faux flowers are easier. Tacky glue holds dried pieces to card, and low-temperature hot glue holds faux stems to wood, wire and fabric. Keep every adhesive, along with glitter and loose embellishments, away from food and drink.
Three problems and how to avoid them
Warped paper
Use less glue than you think you need, spread it to an even film and press the piece flat while it dries. For large panels, switch to tape.
Glue showing through ribbon
Move the glue to a spot that will be covered, such as under the knot, or use tape on the back. Never spread glue along the full length of a thin ribbon.
Strings from hot glue
Touch the nozzle to the work, squeeze, then swirl the tip in a small circle as you lift away to break the thread. Let any strings cool, then pick them off.
Safety note
Use only a low-temperature glue gun, and treat it with care: the glue and the nozzle can still burn skin. Press pieces down with a craft stick, keep the gun on its stand and unplug it when you finish. Work near an open window when you use floral adhesive or any strong-smelling glue.
Test before you commit
Before gluing a batch, join two scraps of the real materials and leave them for a full day. Check three things: whether the join holds when you flex it, whether anything shows on the front, and whether the paper stayed flat.
Tip
Keep the test scraps and write the adhesive on the back of each one. After two or three projects you will have your own reference set for the exact papers and ribbons in your palette.
Store finished pieces flat, dry and out of direct sun, since heat can soften hot glue and tape.
Frequently asked questions
What glue should I use to stick ribbon to cardstock?
Narrow double-sided tape is the cleanest option because it adds no moisture and cannot soak through. Run it along the back of the ribbon, wrap the ends behind the panel and tape them down. Keep tacky glue for small hidden spots such as under a knot or a bow center.
Can I use hot glue on paper wedding crafts?
It works, but it is rarely the neatest choice. Hot glue leaves raised lumps under thin paper and sets too fast to adjust. Save a low-temperature glue gun for bulky items such as faux flowers, twine and wood, and use tape or white glue for flat paper joins.
How long should glued pieces dry before I pack them?
It depends on the adhesive and the room, so treat any figure as approximate. Tape and glue stick joins can be handled at once. White glue and tacky glue are usually firm in about an hour but are better left overnight, and clear craft glue on glass often needs a full day.