Handmade Wedding Cards: 4 Simple Designs to Make
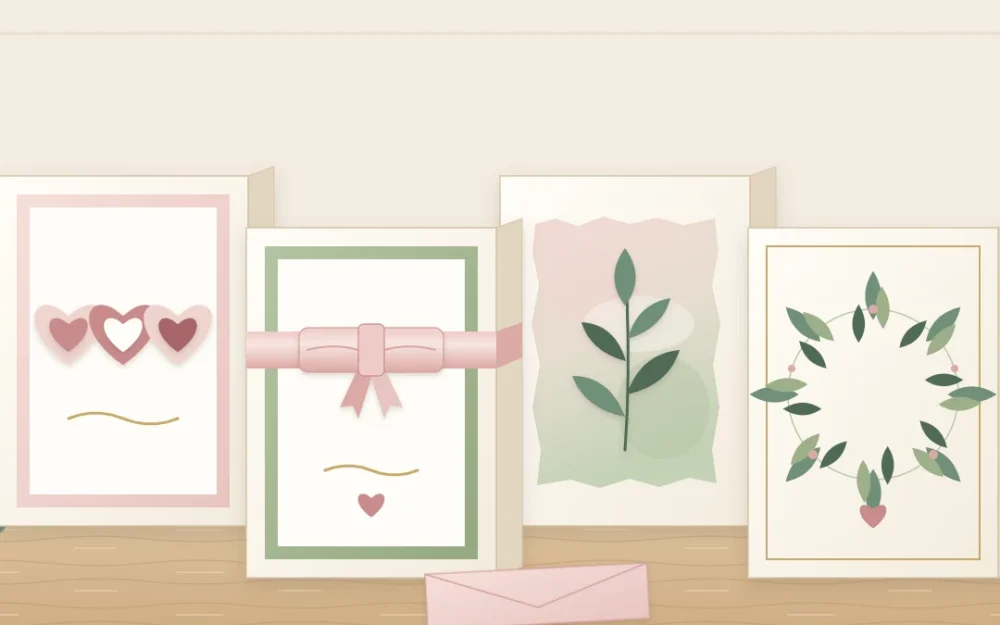
One 5 x 7 in card base and four original fronts: layered hearts, a ribbon band with a flat bow, a torn-edge watercolor panel and a paper leaf wreath, plus a matching envelope liner.
Project at a glance
Materials
- Heavy cardstock (80 lb or more)
- Light cardstock or decorative paper
- Paper trimmer, scissors and ruler
- Bone folder and pencil
- Glue stick and double-sided tape
- Foam adhesive dots
- 12 in of 5/8 in ribbon per ribbon card
- Envelopes for a 5 x 7 in card
A card made by hand says more than its message. Whether you are making one for a couple you love or a stack of thank-you notes after your own celebration, the method is the same: a clean folded base, one or two layers, and a single simple decoration.
The four handmade wedding cards below share one 5 x 7 in base, so once you can cut and fold that, each new design is only a different front. All of them stay flat enough to slip into an envelope.
Materials for All Four Designs
- Heavy cardstock (about 80 lb or more) in white or ivory for the bases
- Light cardstock or decorative paper in one or two colors
- Paper trimmer, scissors, ruler, pencil and bone folder
- Glue stick, double-sided tape and foam adhesive dots
- About 12 in (30 cm) of 5/8 in (16 mm) ribbon per ribbon card
- Watercolor paper, paints and a soft brush for the wash design
- Envelopes to fit a 5 x 7 in card
Thin, even adhesive is what keeps a card front flat. If panels tend to ripple on you, the guide to choosing glue for paper and ribbon explains why tape often beats wet glue.
Cut and Fold the Card Base
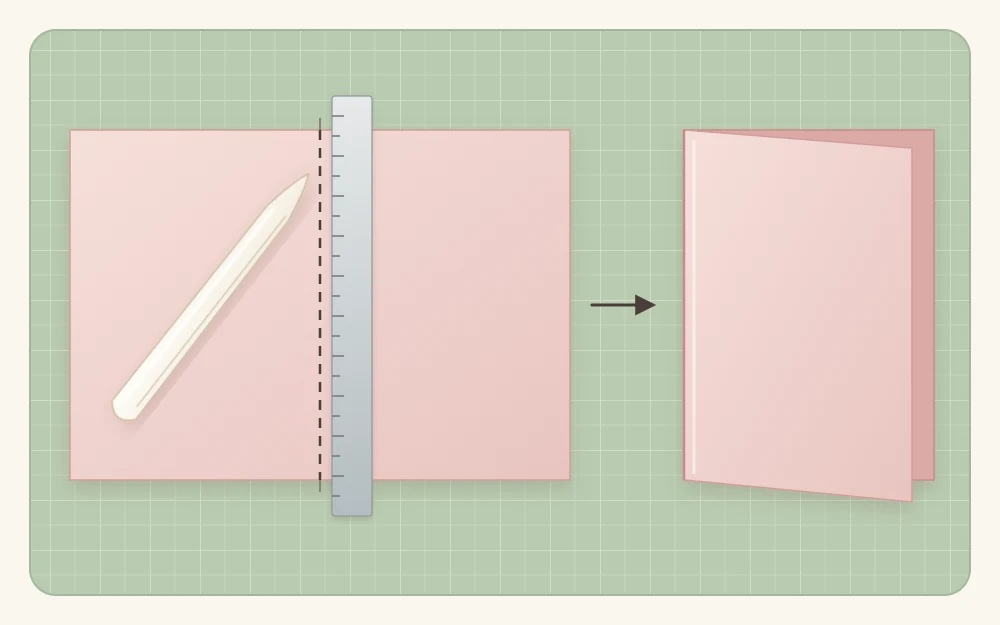
- Cut a 10 x 7 in (25.5 x 18 cm) rectangle of heavy cardstock. One letter-size sheet gives one base.
- Score a line across the middle, 5 in (12.7 cm) from either short edge.
- Fold along the score and press the crease flat with the bone folder. The finished card is 5 x 7 in (13 x 18 cm).
Keep the offcut strips for hearts and leaves. If your folds crack or drift off square, how to score cardstock for clean folds covers the technique in detail.
Add a Mat and a Front Panel
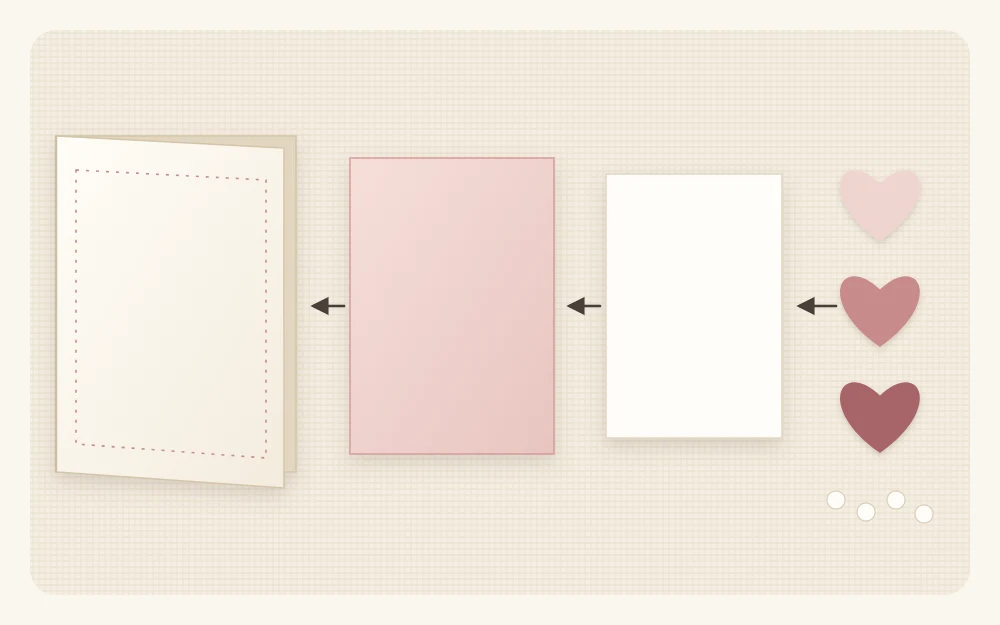
Layers make even a plain card look considered. Cut a colored mat of 4 3/4 x 6 3/4 in (12 x 17 cm) and a white front panel of 4 1/2 x 6 1/2 in (11.5 x 16.5 cm). Each layer shows a border of 1/8 in (3 mm) around the one above.
Decorate the white panel first, then tape it to the mat, and tape the mat to the base last. That way a mistake costs you one small panel instead of a whole card.
Four Simple Card Fronts
1. A row of three layered hearts
Fold a scrap of cardstock in half and cut half a heart against the fold, about 1 1/4 in (3 cm) tall. Use it as your guide to cut three hearts in one color and three slightly smaller ones in a second color. Glue each small heart onto a large one, then mount the three in a row across the panel on foam adhesive dots.
2. A ribbon band with a flat bow
Wrap a 5 1/2 in (14 cm) length of ribbon across the white panel, about a third of the way down, and tape both ends to the back. For the bow, bring the two ends of a 4 in (10 cm) piece to meet at its center and tape them down to form a flat double loop. Wrap a 1 1/2 in (4 cm) piece around the middle as the center band, secure it behind, and tape the bow to the ribbon band.
3. A torn-edge watercolor panel with a leaf
Mark a panel of roughly 3 1/2 x 5 in (9 x 13 cm) on watercolor paper. Hold a ruler firmly on each line and tear the paper up against its edge for a soft, feathered border. Brush clean water over the panel, touch in diluted color and let it spread. Dry it flat for about 30 minutes, then press it under a book. Glue a pressed leaf or a paper leaf on top with a thin coat of white glue.
4. A paper wreath of small leaves
Draw lightly around a glass about 3 in (7.5 cm) across in the center of the panel. Punch or hand-cut roughly 20 to 24 leaves about 3/4 in (2 cm) long, in two shades of green. Glue only the base of each leaf to the pencil line, overlapping them and pointing them all the same way around the circle. The blank center is yours for initials, a date or a single word in your own lettering.
Tip
Keep raised decoration to about 1/8 in high. One layer of foam dots is fine; stacked dots, thick bows and beads make a card hard to fit in its envelope, and bulky cards may need extra postage.
Write Your Message Inside
Rule three or four faint pencil lines about 1/2 in (13 mm) apart on the inside right-hand page, leaving a generous margin. Write your own message in pen, let the ink dry for a few minutes, and erase the lines with a soft eraser. A paper insert in ivory, cut 1/4 in smaller than the card all around and taped along the fold, is a good writing surface if the cardstock is dark or textured.
Line the Envelope to Match
- Open the envelope flap and lay the envelope on the back of your decorative paper. Draw around it.
- Cut about 1/4 in (6 mm) inside the line along the sides and base, and just below the gummed strip on the flap.
- Slide the liner into the envelope until it sits below the gum.
- Fold the flap down so the liner creases with it, lift the flap, and glue the liner to the flap only.
Make a Batch of Thank-You Cards
For a batch, pick one design and work in stages rather than card by card: cut every base, score them all, cut all mats and panels, then decorate in an assembly line. The hearts and the ribbon band are the quickest to repeat; the watercolor panels are best painted several at a time on a board while the first ones dry.
Plan on one sheet of heavy cardstock per card plus about 10 percent spare, so 44 sheets for 40 cards. A sheet of mat paper yields two mats, and ribbon cards need 12 in each, which is about 14 yd (13 m) for 40.
Finished cards keep for months stored flat in a box, away from damp and sunlight. If you would rather collect guests’ messages than send them, these handmade guest book alternatives use the same paper skills.
Frequently asked questions
What size is a standard handmade wedding card?
A folded card of 5 x 7 inches is the most common size and fits a widely sold envelope of about 5 1/4 x 7 1/4 inches. It is cut from a 10 x 7 inch piece of cardstock, so one letter-size sheet gives one card base with narrow offcuts for decoration.
What cardstock weight is best for card making?
Use heavy cardstock of about 80 lb or more for the folded base so the card stands up and does not sag under its layers. Lighter cardstock or decorative paper is better for mats, hearts and leaves, because it cuts easily and adds less thickness to the finished card.
How do I keep a handmade card flat enough for an envelope?
Limit raised decoration to a single layer of foam dots, make bows flat rather than tied, and fix panels with double-sided tape or a glue stick instead of wet glue, which can warp paper. Slide a finished test card into its envelope before making the rest of the batch.