Fall Wedding Crafts: A Leaf Garland and Small Pumpkin Place Holders
Two autumn projects with full steps and quantities: a 6 ft paper leaf garland drawn freehand and no-cut pumpkin place holders with a wire coil, plus three quick ideas with dried materials.
Project at a glance
Materials
- Light cardstock (about 65 lb) in rust, mustard, deep green and kraft
- 7 ft of twine
- Scissors, pencil, ruler and bone folder
- Tacky glue or white (PVA) glue
- Small real or faux pumpkins
- 12 in of floral wire per pumpkin and wire cutters
- Acrylic paint in ivory or sage (optional)
Autumn does a lot of the decorating for you. Rust, mustard and deep green look rich in plain cardstock, and a small pumpkin needs very little added to it to belong on a table.
These fall wedding crafts are two full projects you can make from the text, a paper leaf garland and pumpkin place holders that need no cutting or carving, followed by a few quick ideas that use the same materials.
A fall palette that holds together
Choose three leaf colors and one neutral, and repeat them in everything you make. Rust, mustard and deep green with kraft is the classic set. For a softer look, swap mustard for cream and deep green for sage.
If you have not fixed your colors yet, the guide to choosing a wedding color palette explains how to balance a main color, a partner, a neutral and an accent.
Project 1: paper leaf garland
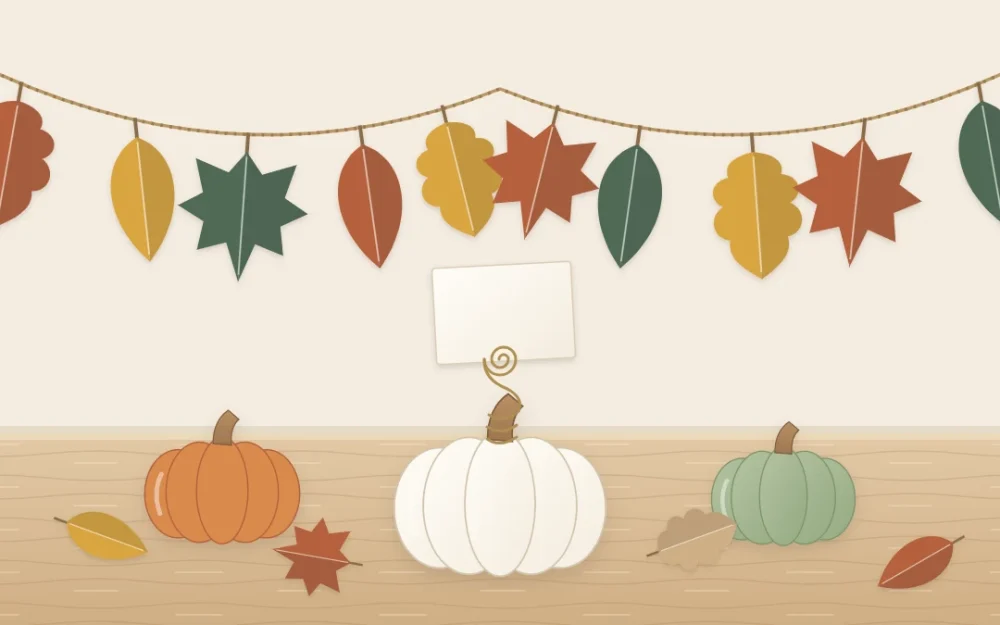
This garland is 6 ft (1.8 m) long with 21 cardstock leaves hanging from twine. Each leaf is drawn freehand, so no two garlands are quite alike.
What you need
- Light cardstock, about 65 lb, in rust, mustard, deep green and kraft: one letter-size sheet of each
- 7 ft (2.1 m) of twine, which allows for a knot or loop at each end
- Pencil, eraser and sharp scissors
- Bone folder and ruler
- Tacky glue or white (PVA) glue
Draw three leaf shapes
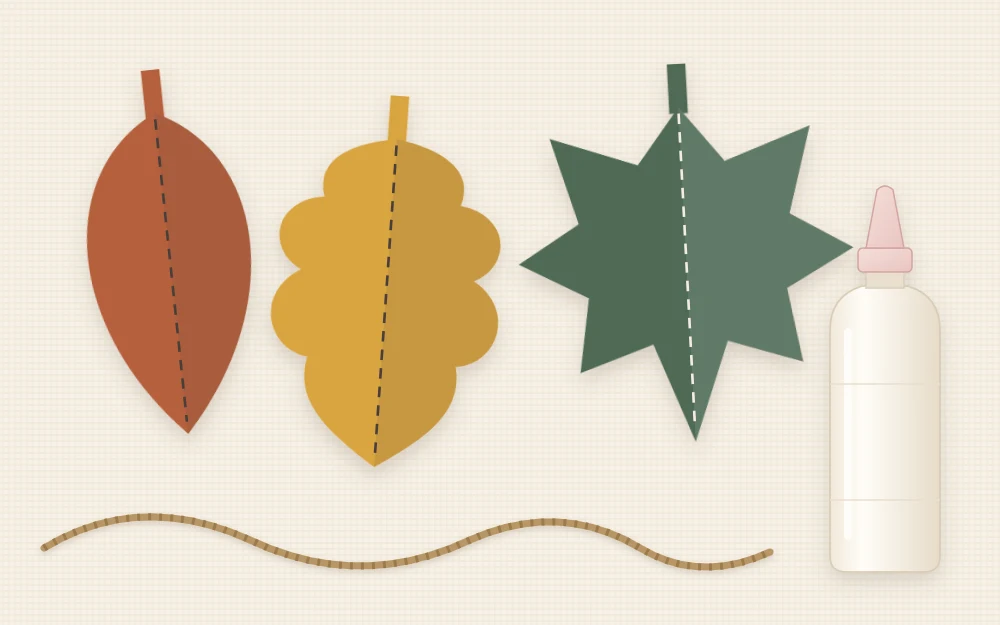
On scrap card, draw three boxes of 2 x 3 in (5 x 7.5 cm) and sketch one leaf inside each, touching all four sides. Add a stem about 1/2 in (12 mm) long at the top of each one.
- Oval leaf: a pointed oval, like a beech leaf.
- Lobed leaf: a wavy outline with three or four rounded bumps on each side, like an oak leaf.
- Pointed leaf: five points spreading from the base, like a simple maple leaf.
Cut these three out. They are your own guides to draw around, so every leaf of one shape matches.
Cut, score and attach
- Draw around the guides on the back of the cardstock. A letter-size sheet fits 12 leaves in 2 x 3 in boxes: four across and three down.
- Cut out the leaves with scissors. Turn the paper, not the scissors, on the curves.
- Score a center vein from the stem to the tip of each leaf with the bone folder against a ruler, then fold very lightly along it and open the leaf again.
- Lay the twine out straight. Leave 6 in (15 cm) bare at each end for hanging and mark every 3 in (7.5 cm) between with a pencil dot. That gives 21 marks.
- Arrange the leaves along the twine before gluing, alternating colors and shapes so the same two never sit together.
- Put a dot of glue on the back of each stem, fold the stem over the twine at a mark and pinch for a few seconds. Let the garland dry flat for about an hour.
How many leaves to make
Count the usable length in inches, divide by 3 and add 1. For 6 ft, 72 in minus 12 in of bare ends leaves 60 in, which is 21 leaves. Four sheets give 48 leaves, enough for two garlands with six spares.
Hang paper garlands only from removable hooks or supports meant for decorations, and ask the venue what is allowed. For a fuller, softer look, layer the leaves in front of a fabric and ribbon strip garland.
Project 2: pumpkin place holders
A coil of wire on the stem of a small pumpkin holds a name card upright, and nothing is cut.
What you need for each holder
- One small pumpkin, real or faux, about 3 in across, with a firm stem
- 12 in (30 cm) of floral wire that holds its shape when bent
- Wire cutters and a pencil
- Optional: acrylic paint in ivory or sage and a soft flat brush
- A flat card of about 3 1/2 x 2 in (9 x 5 cm)
Steps
- Wipe the pumpkin clean and dry it. To paint it, brush on two thin coats of acrylic paint, leaving roughly an hour between them, and keep the stem bare for contrast.
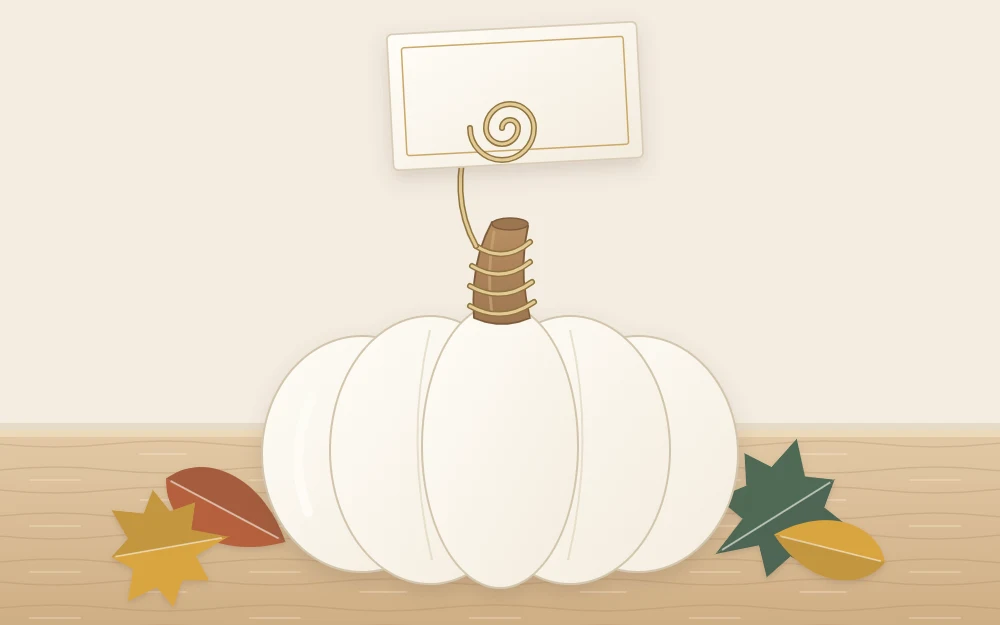
- Wind one end of the wire three times around the pencil, pushing the turns tightly together. Slide the coil off. The card will sit between two turns.
- Bend the wire below the coil into a straight stalk about 2 in tall.
- Wrap the remaining wire snugly around the base of the pumpkin stem two or three times.
- Tuck both cut ends inward with the wire cutters so that no sharp point sticks out.
- Slip the card between the turns of the coil and adjust the stalk until it stands upright.
For sizes, lettering and other shapes of name card, see the tutorial on DIY wedding place cards.
Quantities and timing
Make one holder per guest plus about one in ten as spares. At 12 in each, 40 holders need 480 in of wire, which is 40 ft (about 12 m). Wire coils and faux pumpkins can be finished weeks ahead. Paint real pumpkins roughly a week before, and keep them cool and dry. Painted pumpkins are decoration only and should not be eaten afterwards.
More quick fall ideas
- Dried wheat or grass bundles: gather a small handful, bind the stems with twine about 2 in below the heads, trim the ends level and stand the bundles in bottles or lay one at each place.
- Cinnamon stick napkin ties: wrap twine or narrow ribbon twice around a rolled napkin and knot two cinnamon sticks on top.
- A hoop with dried leaves: wire pressed leaves and dried grasses to the lower third of a metal hoop and hang it from a ribbon.
Keep dried materials away from flames
Safety note
Paper leaves, dried grasses, wheat and twine catch fire very easily. Do not place real flames in or near any of these pieces. Use LED candles and battery string lights for a warm glow instead.
What to make ahead
Paper leaves and wire coils can be made about two months ahead and stored flat in a box, dry and out of sunlight. Dried bundles keep for weeks in a dry room.
For a date late in the season, deep green, ivory and gold lead straight into the ideas for winter wedding crafts.
Frequently asked questions
How long do small real pumpkins last as place holders?
An uncut pumpkin with a firm stem and no soft spots generally stays sound for several weeks if it is kept cool, dry and out of direct sun. Because this method never pierces the skin, it lasts far longer than a carved one. Check each pumpkin a day or two before and replace any that have softened.
Can I use real leaves instead of paper leaves on the garland?
You can, but fresh leaves curl and turn brittle within a few days. Press them flat between sheets of paper under heavy books for about two weeks first, then glue the stems to the twine in the same way. Paper leaves are sturdier, hold their color and can be made much further ahead.
What paint works on pumpkins?
Water-based acrylic paint brushed on in two thin coats covers both real and faux pumpkins well. Wipe the skin clean and dry first so the paint grips, and let each coat dry before the next. Thick single coats tend to peel, and a glossy real pumpkin may need a third thin coat.