DIY Boutonniere: How to Make a Simple Buttonhole Flower
Make a boutonniere from one focal flower, a leaf and a sprig of filler. Covers trimming, optional wiring, binding with floral tape, a ribbon finish, storage and pinning with no exposed point.
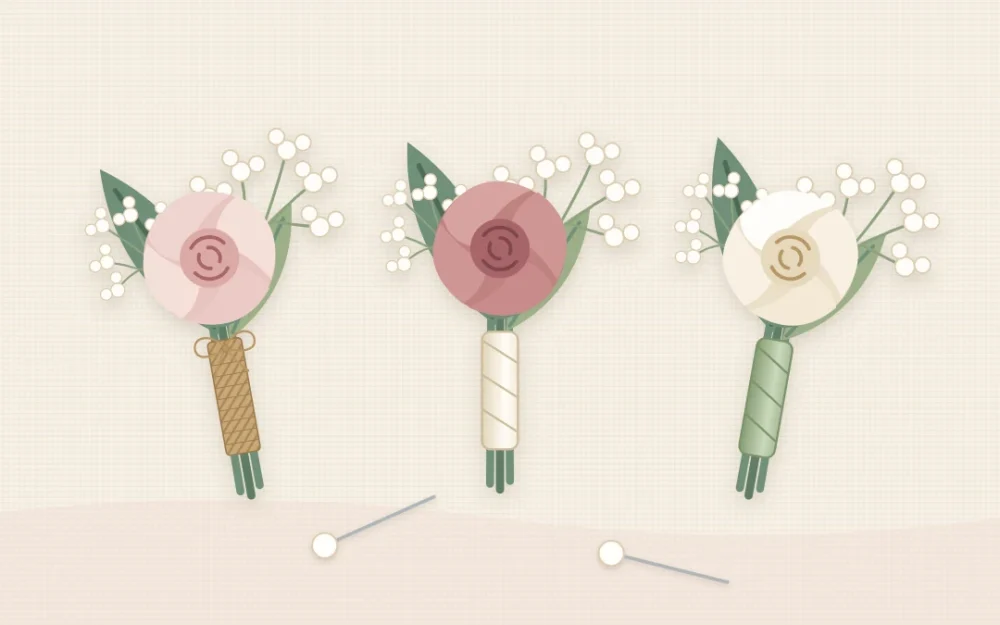
Project at a glance
Materials
- 1 sturdy focal flower, such as a spray rose
- 1 or 2 leaves and a sprig of filler flowers
- Green floral tape
- Thin floral wire (optional)
- 12 in of narrow ribbon or fine twine
- Floral snips and scissors
- Pearl-headed pins
A boutonniere is a tiny arrangement with only three or four ingredients, which makes it one of the friendliest flower projects to try by hand. A diy boutonniere needs one good bloom, a leaf or two, a sprig of something small and a few inches of floral tape.
The technique is the same for every style: bundle, bind, cover, trim. Once you have made one, the rest go quickly, and you can match them to the ribbon and flowers used elsewhere.
What You Need
- One focal flower per boutonniere: a spray rose, ranunculus, small carnation or another sturdy bloom about 1 to 1 1/2 in (2.5 to 4 cm) across
- One or two leaves, such as eucalyptus, ruscus or a rose leaf
- A sprig of filler flowers, such as waxflower or baby’s breath
- Green floral tape and, optionally, thin floral wire
- Narrow ribbon, 1/4 to 3/8 in (6 to 10 mm) wide, or fine twine
- Floral snips, scissors and pearl-headed pins about 1 1/2 in (4 cm) long
Choose flowers that cope without water for several hours. Soft, thirsty blooms droop quickly on a warm jacket. For some background on the tradition, see this short history of the boutonniere.
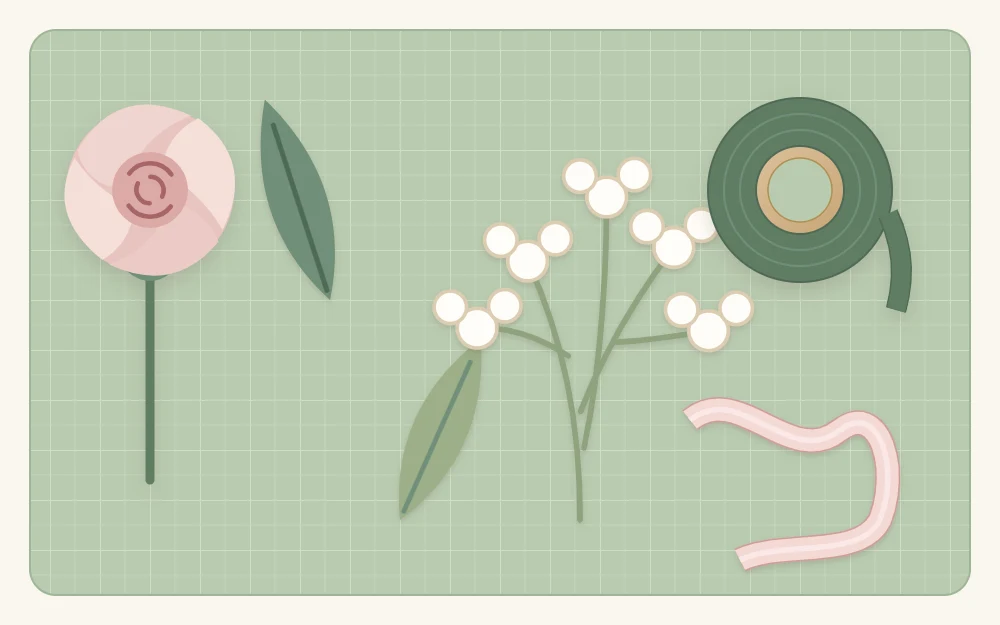
Prepare the Flowers
Give the stems a long drink first: at least a few hours in cool water, ideally overnight. Well-hydrated flowers last far longer once they are out of the vase.
Then cut each stem to about 3 in (8 cm) and strip off any leaves and thorns below the flower head. Dry the stems with a towel so the tape will stick.
Optional support wire
A flower with a heavy head or a soft stem benefits from a wire. Cut about 4 in (10 cm) of thin floral wire with wire cutters, lay it alongside the stem with its tip tucked just under the flower head, and tape the two together from top to bottom. Fold the cut end of the wire back on itself so nothing sharp is left sticking out.
Build and Bind the Boutonniere
- Start with the leaf. Lay the largest leaf face up on the table. It forms the flat back that will rest against the jacket.
- Add the focal flower. Place it on the leaf so the leaf tip shows about 1/2 in (1.3 cm) above the bloom.
- Tuck in the filler. Set the sprig to one side and slightly below the flower. Add a second, smaller leaf in front if the bundle looks bare.
- Check the back. Pinch the stems together and turn the bundle over. Everything should face forward, with a flat back.
- Bind with floral tape. Start just under the flower head. Stretch the tape as you wrap, because stretching is what makes it tacky, and spiral down about 2 in (5 cm) of stem, overlapping each turn.
- Cover the tape. Fix the ribbon end at the top with a small dot of tacky glue, wind it down over the tape in close turns, and glue the end at the back. With twine, wrap tightly and knot at the back.
- Trim. Cut the stems straight across so about 2 in remains below the flower.
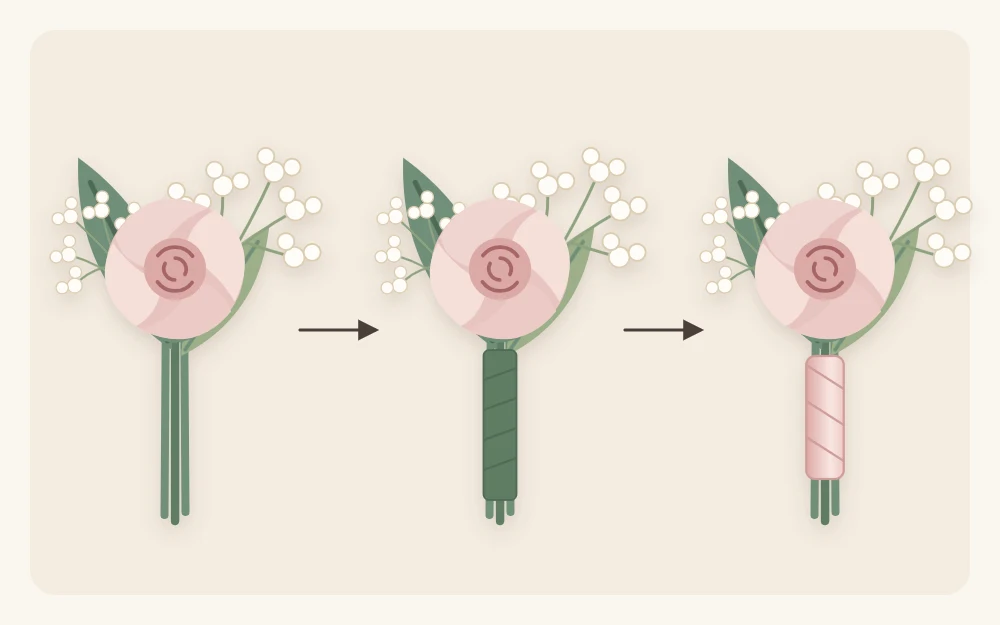
Each one uses roughly 10 in (25 cm) of tape and 12 in (30 cm) of ribbon. Multiply by the number you need and add two spares, since a flower can bruise in transit.
Tip
Use only a tiny dot of glue on ribbon. Too much soaks through and leaves a dark mark; the guide to choosing glue for ribbon and flowers explains which types stay invisible.
Dried and Paper Versions
If fresh flowers feel risky, make boutonnieres that need no water. Dried flowers, dried grasses and preserved leaves are bundled and taped exactly the same way, though the stems are brittle, so bind gently.
A small paper rose on a wire stem also works well and keeps its color. The overview of where paper flowers work best includes a simple rolled rose that is the right scale.
Both versions can be finished roughly two to four weeks ahead. Store them in a lidded box, lying on tissue paper, away from sunlight and damp.
Timing and Storage for Fresh Flowers
Make fresh boutonnieres the day before. Leave the cut ends of the stems uncovered while you work so they can sit in a little water for an hour afterward, then pat them dry.
Line a shallow box with a barely damp paper towel, lay the boutonnieres on it without letting them touch, and close the lid loosely. Keep the box somewhere cool. A refrigerator works if it holds no fruit, since ripening fruit shortens the life of cut flowers, and if it is not set very cold.
How to Pin It So No Point Shows
A boutonniere sits on the left lapel, over the heart, with the flower pointing up and the stem angled slightly toward the center of the body.
- Hold the boutonniere against the front of the lapel.
- From behind the lapel, push a pin through the fabric to the front, at about the middle of the wrapped stem.
- Pass the pin through or across the thickest part of the stem, at a slant.
- Push the point back through the lapel so it ends up behind the fabric again.
The pearl head and the point are now both hidden behind the lapel, and only a short stitch of pin crosses the stem.
Safety note
Slide a hand behind the lapel to check that the point lies flat against the back of the fabric and does not poke through to the shirt. For a heavier boutonniere, add a second pin about 1/2 in below the first.
A Note on Wrist Corsages
A wrist corsage is essentially a slightly larger boutonniere mounted flat on a band. Make a wider bundle with two or three small flowers, bind it the same way, then tie it at the center of a 24 in (60 cm) length of ribbon about 1 in wide. Knot the ribbon tightly around the taped stems so the flowers sit on top of the wrist, and tie the ends in a bow underneath.
Matching the Bouquet
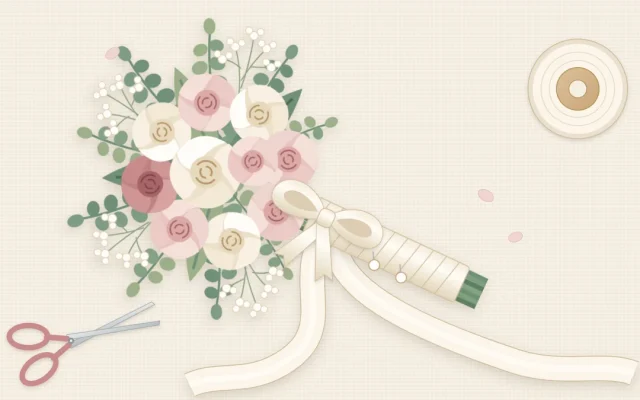
The quickest way to make a boutonniere look intentional is to borrow from the bouquet: one of the same flowers, the same greenery and an offcut of the same ribbon. If you are also finishing the bouquet handle yourself, the steps for wrapping bouquet stems with ribbon use the same tape-then-ribbon idea at a larger scale.
Frequently asked questions
Which flowers last longest in a boutonniere?
Sturdy, compact blooms hold up best out of water: spray roses, ranunculus, small carnations, waxflower and thistle are common choices. Pair them with firm greenery such as eucalyptus or ruscus. Very soft or thin-petaled flowers tend to wilt within a few hours, especially against a warm jacket.
Why will my floral tape not stick?
Floral tape is not sticky until it is stretched. Pull it gently as you wrap so it thins slightly and turns tacky, and overlap each turn onto the last. It also grips poorly on wet stems, so pat them dry first. Old, dried-out tape may need replacing.
How many boutonnieres should I make?
Write a list of everyone who will wear one, then add at least two spares. Flowers can bruise in transit or lose a petal while being pinned, and a spare lets you swap one out without fuss. Extras are quick to make while the materials are already on the table.