Mason Jar Wedding Centerpiece: Twine, Lace and Simple Flowers
Decorate a glass jar three ways with lace, twine or ribbon, then fill it in three simple layers. Includes sizes, quantities per table and what to make ahead.
Project at a glance
Materials
- Clean glass jars (pint size or mixed sizes)
- Lace trim, 1 1/2 to 2 in wide
- Jute or cotton twine
- Ribbon and small cardstock tags
- Clear-drying tacky glue
- Scissors and a fabric tape measure
- Greenery, larger flowers and filler flowers
A mason jar wedding centerpiece earns its place because it is easy to repeat. One jar, one strip of trim and a small handful of stems give you a design you can copy across every table without it looking mass-produced.
The work splits neatly into two jobs. Decorating the glass is a dry craft you can finish weeks ahead; filling the jars with fresh flowers happens the day before. If you are still comparing options, the roundup of handmade centerpiece ideas covers the alternatives.
What You Need
- Clean glass jars. A pint mason jar is about 5 in (13 cm) tall and roughly 10 in (25 cm) around.
- Lace trim, 1 1/2 to 2 in (4 to 5 cm) wide
- Jute or cotton twine
- Ribbon, 5/8 to 1 in (1.5 to 2.5 cm) wide, and a few small cardstock tags
- Clear-drying tacky glue or narrow double-sided tape
- Scissors, a fabric tape measure and floral snips or sharp kitchen scissors
- Greenery, a few larger flowers and small filler flowers
Clean the Jars and Remove Old Labels
New jars only need a wash and a thorough dry. Reused jars take a little more effort.
- Soak the jars in warm, soapy water for about half an hour, then peel off the labels.
- Rub any sticky residue with a paste of cooking oil and baking soda on a cloth. Leave it for a few minutes on stubborn patches.
- Wash again with dish soap to take the oil off, rinse and dry completely.
- Wipe the area you plan to decorate with a little rubbing alcohol or white vinegar and let it air dry.
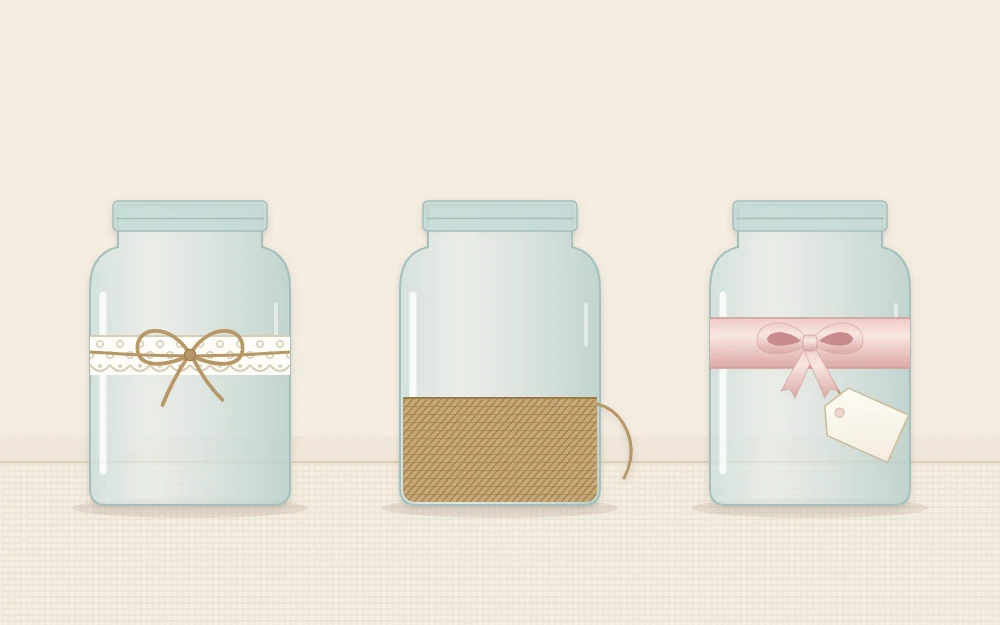
Decorate the Jar Three Ways
Measure around your own jar first. The lengths below suit a pint jar; add 1 in (2.5 cm) to your measurement for the overlap on any band.
Lace band with a twine bow
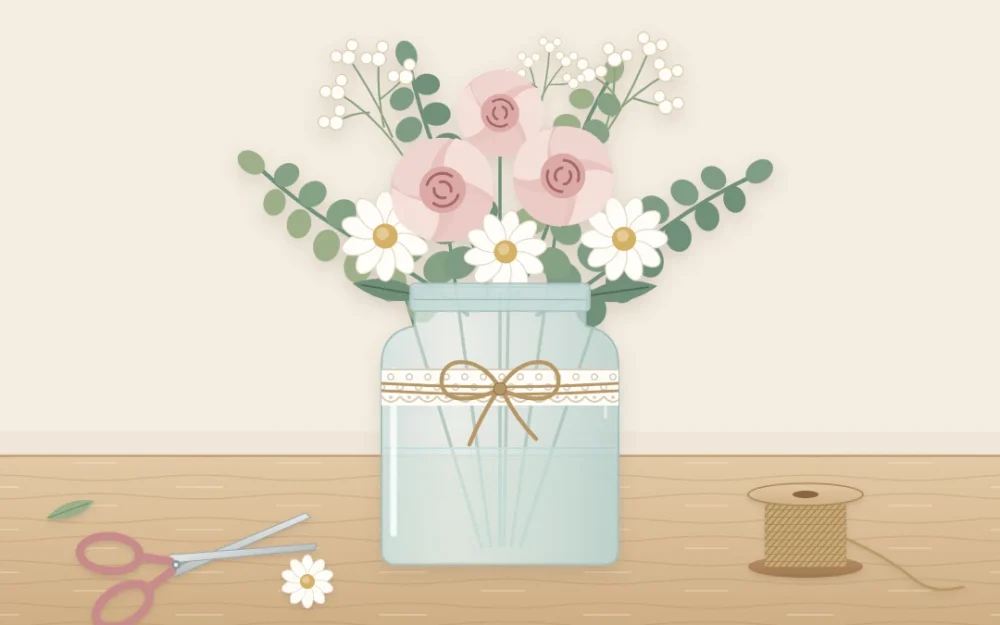
Cut the lace to about 11 in (28 cm). Dot tacky glue along the back at the two ends and at three or four points between them, then press the band around the middle of the jar with the seam at the back. Wrap twine twice around the center of the lace and tie a small bow at the front. Two wraps and a bow use roughly 1 yd (90 cm) of twine.
Twine-wrapped lower third
Put a dot of glue just above the base, press the twine end into it and hold for a few seconds. Wind the twine upward in tight rows that touch, adding a dot of glue every half turn on the first and last rows and every few rows in between. Stop about a third of the way up, glue the end down at the back and trim it.
Each wrap of a pint jar uses about 10 in of twine, so twenty rows take roughly 5 1/2 yd (5 m).
Ribbon band with a small tag
Thread a blank tag onto the ribbon, wrap the ribbon once around the jar and tie it in a knot or a bow so the tag hangs at the front. A 30 in (76 cm) length leaves enough for a bow with short tails. Fix the ribbon at the back with a single dot of glue so it cannot slide down.
Glue choice matters more on glass than on paper, and the guide to which adhesive suits which material explains why tacky glue grips lace where a glue stick will not. If your bows keep twisting, the steps for tying a flat, even bow will sort that out.
Tip
Let the glue dry for roughly a day before the jar meets water, and fill the jars with a small jug so the trim stays dry.
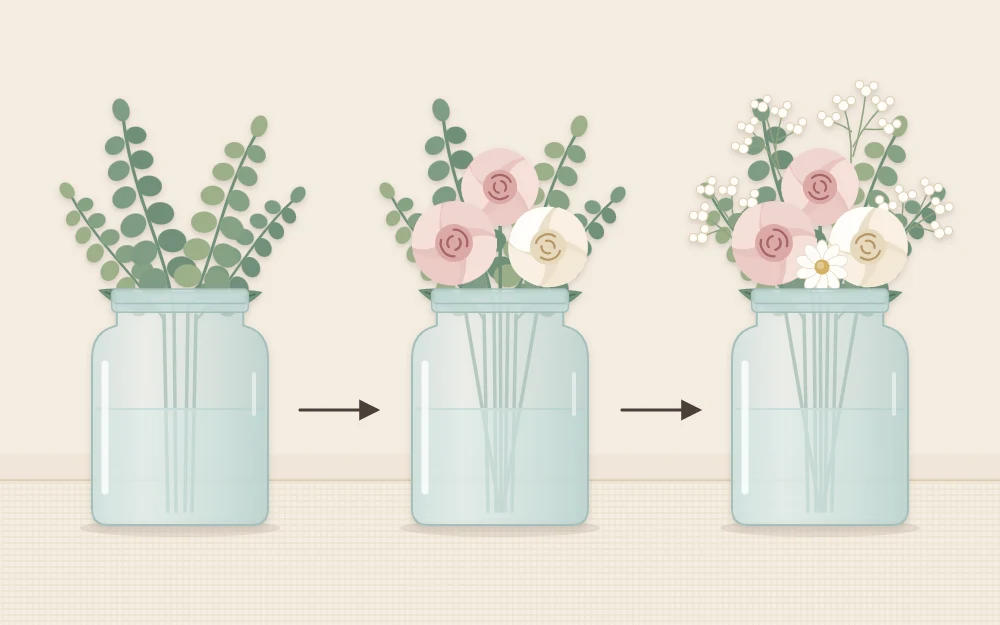
Fill the Jar in Three Layers
Work in the same order every time and the jars will match.
- Prepare the stems. Strip every leaf that would sit below the waterline, since leaves under water turn slimy quickly. Cut each stem at an angle to about one and a half times the jar height: roughly 7 1/2 in (19 cm) for a pint jar.
- Greenery first. Fill the jar two-thirds with cool water. Add three to five stems of greenery, crossing them in the jar so they lean outward and form a loose frame.
- Largest flowers next. Tuck three larger flowers into the gaps at slightly different heights, turning the jar as you go so it looks good from every seat.
- Filler flowers last. Slip small filler flowers into any remaining spaces. Stop while the arrangement still looks airy.
Group Three Jars Per Table
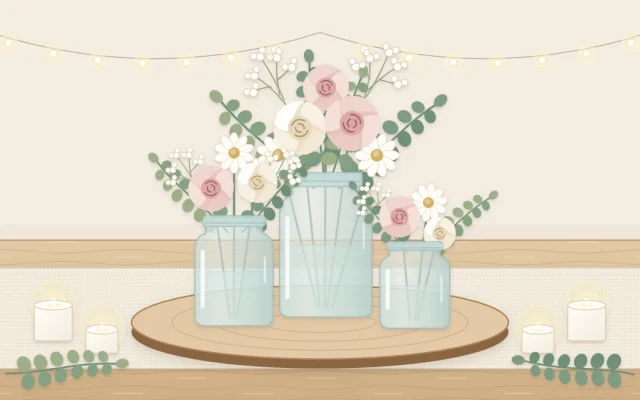
A single jar suits a small round table. On a longer table, a group of three in different sizes looks fuller: for example a quart, a pint and a half-pint jar set close together in a loose triangle.
Give each jar a different finish, or use one finish on all three, and keep the group low enough that guests can see each other across the table.
Work Out How Much to Make
Multiply the number of jars per table by the number of tables, then add two or three spare jars in case one chips. For 12 tables with three jars each, that is 36 jars plus spares.
For trim, multiply the length one jar needs by the number of jars and add about ten percent. Twelve pint jars with lace bands need 12 x 11 in, which is 132 in or a little under 4 yd (3.7 m).
For flowers, count stems for one finished sample jar and multiply. A pint jar often takes around a dozen stems in total, but your own sample is the number to trust.
Timing and Make-Ahead
Decorate the jars weeks or even months ahead. Store them upright in a box with paper between them so the bows are not crushed.
Arrange fresh flowers the day before. Keep the filled jars somewhere cool and out of direct sun, and top up the water on the morning itself. Carry them in a shallow box or crate, wedged with towels so they cannot tip.
A Dried or Paper Flower Version
If you would rather finish everything early, skip the water. Dried grasses, dried flower stems or paper flowers on wire stems can be arranged roughly two to four weeks ahead and stored away from sunlight and damp.
Without water, stems tend to slide around. A handful of dry sand, rice or small pebbles in the bottom of the jar, hidden by the twine-wrapped finish, holds them where you put them.
Frequently asked questions
How many flowers do I need for one mason jar?
A pint jar usually looks full with around four stems of greenery, three larger flowers and four or five stems of filler. Jar mouths and flower sizes vary, so build one complete sample jar, count what you used, and multiply that by your number of jars with a few stems to spare.
Will the lace or twine come off if the jar gets wet?
Tacky glue that has dried for about a day holds well against the odd drip, but it is not made for soaking. Fill the jars with a small jug rather than under the tap, wipe any spills, and keep the trim above the base so it does not sit in a puddle on the table.
What size mason jar is best for a centerpiece?
A pint jar is the easiest all-rounder: tall enough to support stems and small enough to fill without many flowers. Half-pint jars suit short stems and small tables, while quart jars need longer stems and more greenery. Mixing three sizes in one group gives a fuller look.